


A lot of VW owners hit the same moment. The van's packed, the esky's cold, the surf's up, and then you stop and realise your recovery gear plan is still a bit optimistic. On a classic Kombi or Beetle, carrying a jack isn't just about having the tool. It's about where on earth you mount the thing without chewing up bodywork, upsetting weight balance, or ending up with a rattly lump of steel hanging off a vehicle you've spent years bringing back to life.
That's where a good high lift jack bracket earns its keep. Not as some macho bolt-on for a bush truck, but as a practical bit of kit for VW people who actively use their cars. Old Volkswagens reward simple, thoughtful upgrades. They punish lazy mounting points, cheap hardware, and “she'll be right” measuring. If you're fitting one for beach runs, camping trips, paddock access, or a long country loop, the bracket matters just as much as the jack.
From the Bush to the Beach Your VW's Ticket to Freedom
A classic Volkswagen always makes a trip feel bigger than it is. A quick run down the coast turns into a story. A dusty inland detour becomes the bit everyone talks about at the next cars-and-coffee meet. That's part of the magic. But the other part is preparation, because an old Bus or Beetle can still get bogged, still cop a flat, and still leave you needing a safe way to lift, shift, or recover.
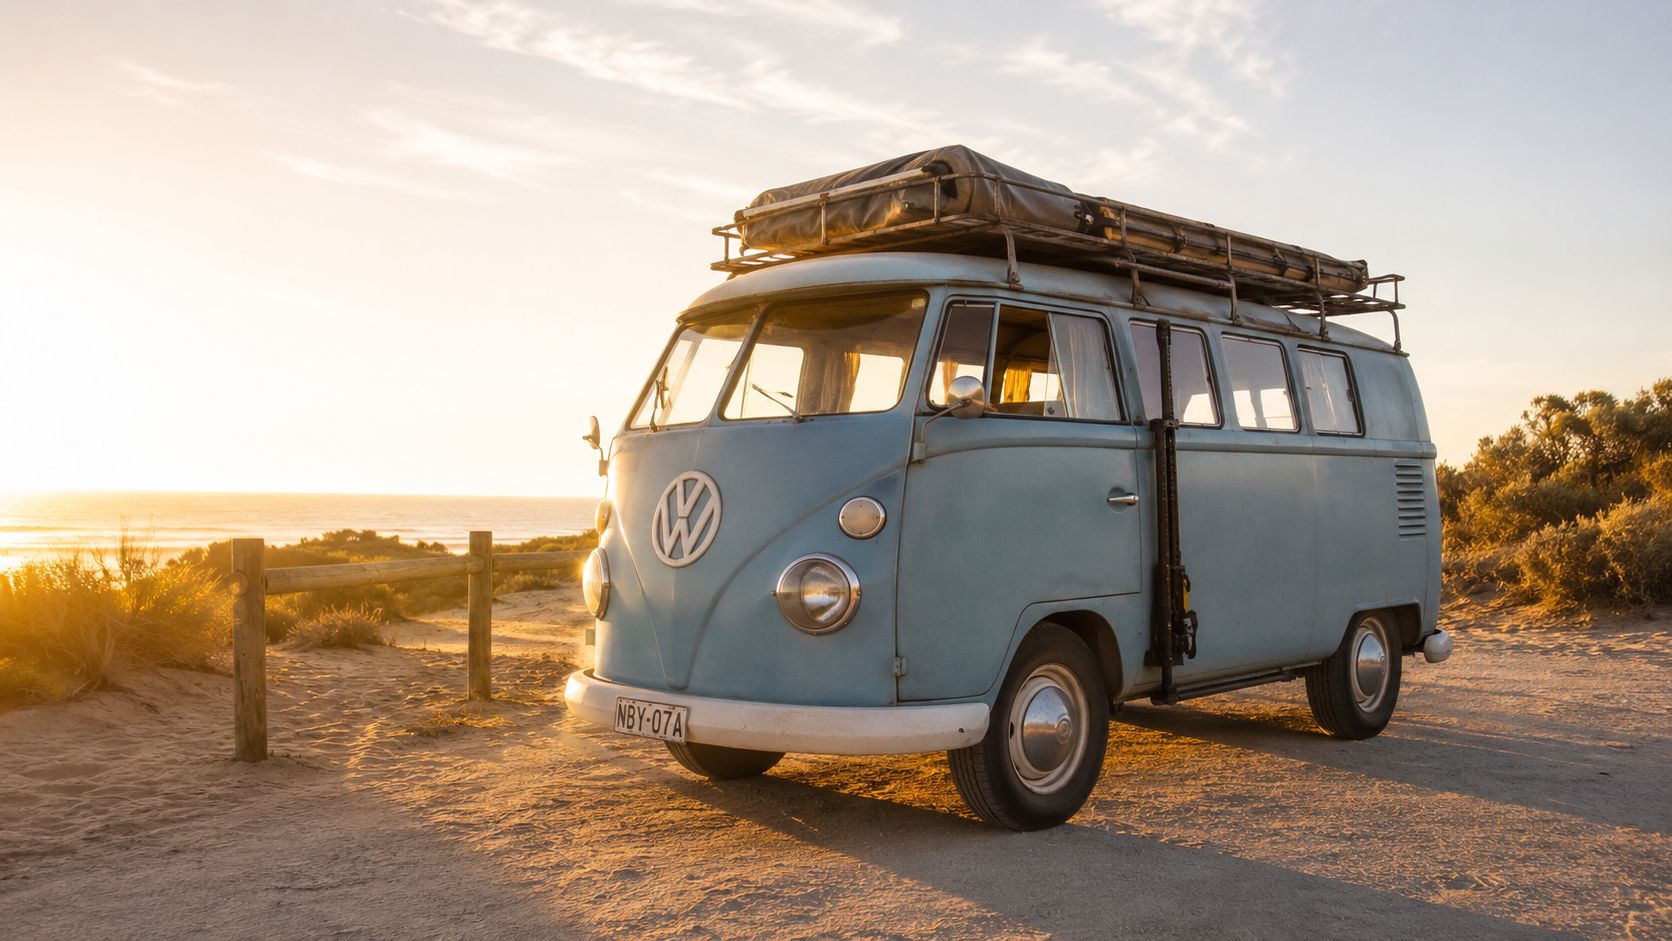
I've always liked the VW approach to adventure. It's less about brute force and more about ingenuity. A Kombi with a sensible rack, decent tyres, and recovery gear mounted properly often gets used more confidently than a heavily modified rig that's overdone and underdriven. That confidence matters when you're on corrugations, edging onto soft sand, or poking around a coastal track before sundown.
Practical rule: Recovery gear only helps if you can reach it quickly and trust it to stay put.
That's why a high lift jack bracket isn't just a holder. It's part of the vehicle's touring setup. It keeps the jack accessible, stops it becoming a loose projectile, and lets you free cabin or cargo space for the stuff that makes an old Volkswagen pleasant to travel in. On a camper Bus, that might be bedding and cooking gear. On a Beetle, it might be the difference between a tidy luggage area and total chaos.
There's also a mindset shift here. Once your recovery gear has a proper home, you start travelling like someone who expects to solve problems, not just hope they won't happen. That suits the old VW spirit down to the ground. These cars were built around making the most of modest means and smart design.
If your Kombi life leans more road trip than rock crawling, there's good inspiration in this look at van life in Australia. It taps into the same idea. Freedom feels better when the practical stuff is sorted.
Why classic VWs need extra thought
A modern 4WD often gives you obvious hard points. A Kombi or Beetle doesn't. Thin panels, ageing gutters, custom bumpers, engine lids, old repairs, and mixed aftermarket parts all complicate the job.
That means the bracket choice has to match the vehicle, not the other way around.
- A beach-going Kombi needs corrosion resistance and a mount that won't shake loose on washboard roads.
- A Baja Bug can sometimes use a stronger external mounting point, but only if the bar work is structural.
- A restored Beetle often benefits from a less intrusive solution, because preserving clean body lines and paint matters too.
Choosing the Right Bracket for Your Rig
Not all brackets suit a Volkswagen, and not all mounting styles suit the way Volkswagens get used in Australia. Some are ideal for a lifted Baja with custom bars. Others make more sense on a tidy Kombi with a roof platform. The trick is matching the bracket to your body style, your travel habits, and how much fabrication you're happy to do.
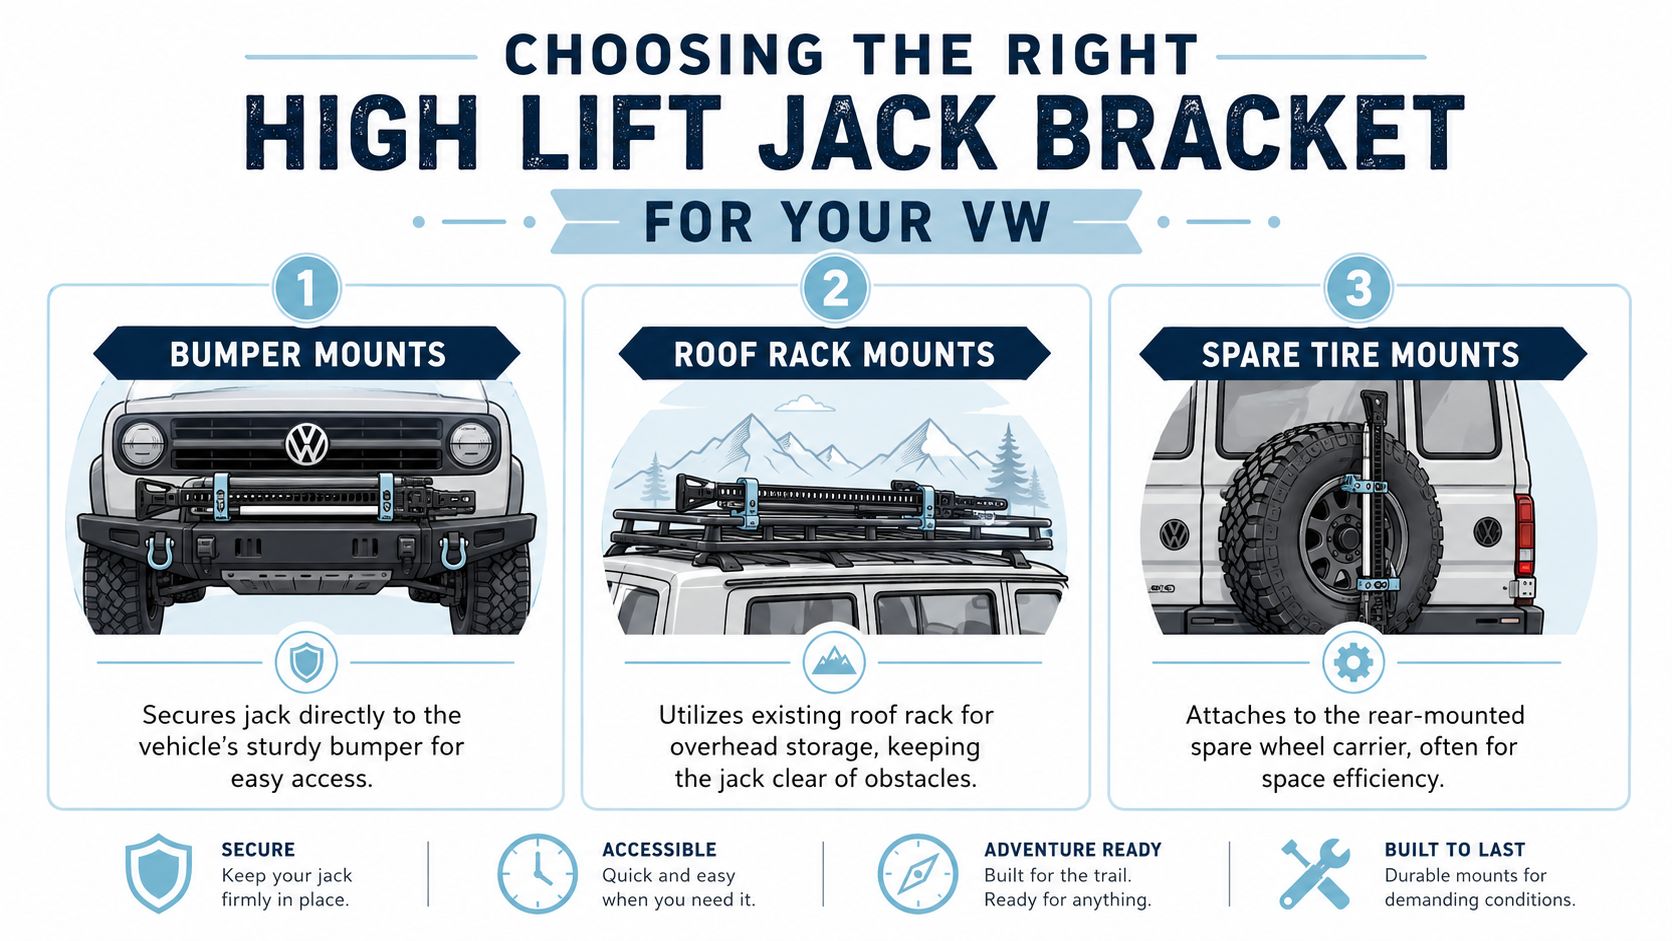
The three mounting styles most VW owners consider
| Mount style | Where it suits best | Main upside | Main trade-off |
|---|---|---|---|
| Bumper or bar mount | Baja Bugs, custom bar setups, reinforced rear carriers | Fast access and easy visual checks | Only works if the bar is genuinely strong |
| Roof rack mount | Kombis, T3s, touring setups with platform racks | Keeps the jack out of the way and saves cabin room | Raises weight higher on the vehicle |
| Spare tyre or rear mount | Vans with custom rear carriers | Good space efficiency and balanced access | Needs careful swing-away or door clearance planning |
A lot of people start with the idea of a bumper mount because it looks tough. Fair enough. But on a classic VW, appearance counts for less than structure. Factory bumper mounts and decorative bars often aren't the place for heavy kit unless they've been engineered or reinforced properly.
Roof mounting is often the cleanest option on a Kombi. It keeps mud and gear out of the cabin and leaves the rear area free for camping bits. Rear mounts can also work brilliantly, especially on custom setups, but they live or die by the quality of the carrier behind them.
Materials and coatings that actually matter
For Australian conditions, I lean toward coated steel hardware over bargain light-duty gear. The reason is simple. Beach air, road spray, and humidity expose weaknesses fast. Manufacturing specifications for the Leitner Designs bracket confirm it uses powder-coated steel with zinc-plated hardware, a combination that suits coastal and high-moisture conditions well, as outlined on the Leitner Designs Hi-Lift Jack Bracket product page.
Cheap finishes usually fail before the bracket itself does. Rust starts in the hardware, then stains the mount, then spreads into the vehicle where it contacts the metal.
That doesn't mean every VW needs a heavy-duty off-the-shelf system. A custom bracket can be the best answer when you've got a non-standard roof rack, unusual rear carrier, or an old bus with previous modifications. But custom only works if the builder understands load paths, reinforcement, and corrosion prevention. A dodgy one-off can be worse than no bracket at all.
Off-the-shelf or custom build
Use this test before you buy anything.
- Choose off-the-shelf if your vehicle already has a compatible platform, rack, or carrier and you want a cleaner install.
- Choose custom if your Kombi or Beetle has unusual dimensions, handmade bars, or a roof setup that standard clamps won't fit.
- Walk away if the bracket relies on thin sheet metal alone, unfavorable mechanical advantage, or “just snug it up” fastening.
If you're already deep into the practical side of keeping a vintage VW on the road, the broader scene around VW parts in Australia is worth a look too. It helps put bracket choices in context with the rest of a usable touring build.
Scouting the Best Mounting Spots on Your VW
Volkswagen owners can't copy a generic 4WD mounting guide and call it done. The body structures are different, the weight distribution is different, and many old buses and Beetles have already had decades of repairs, tweaks, and accessory holes drilled into them. Before you touch a drill, find the strongest honest mounting spot on the vehicle you've got.
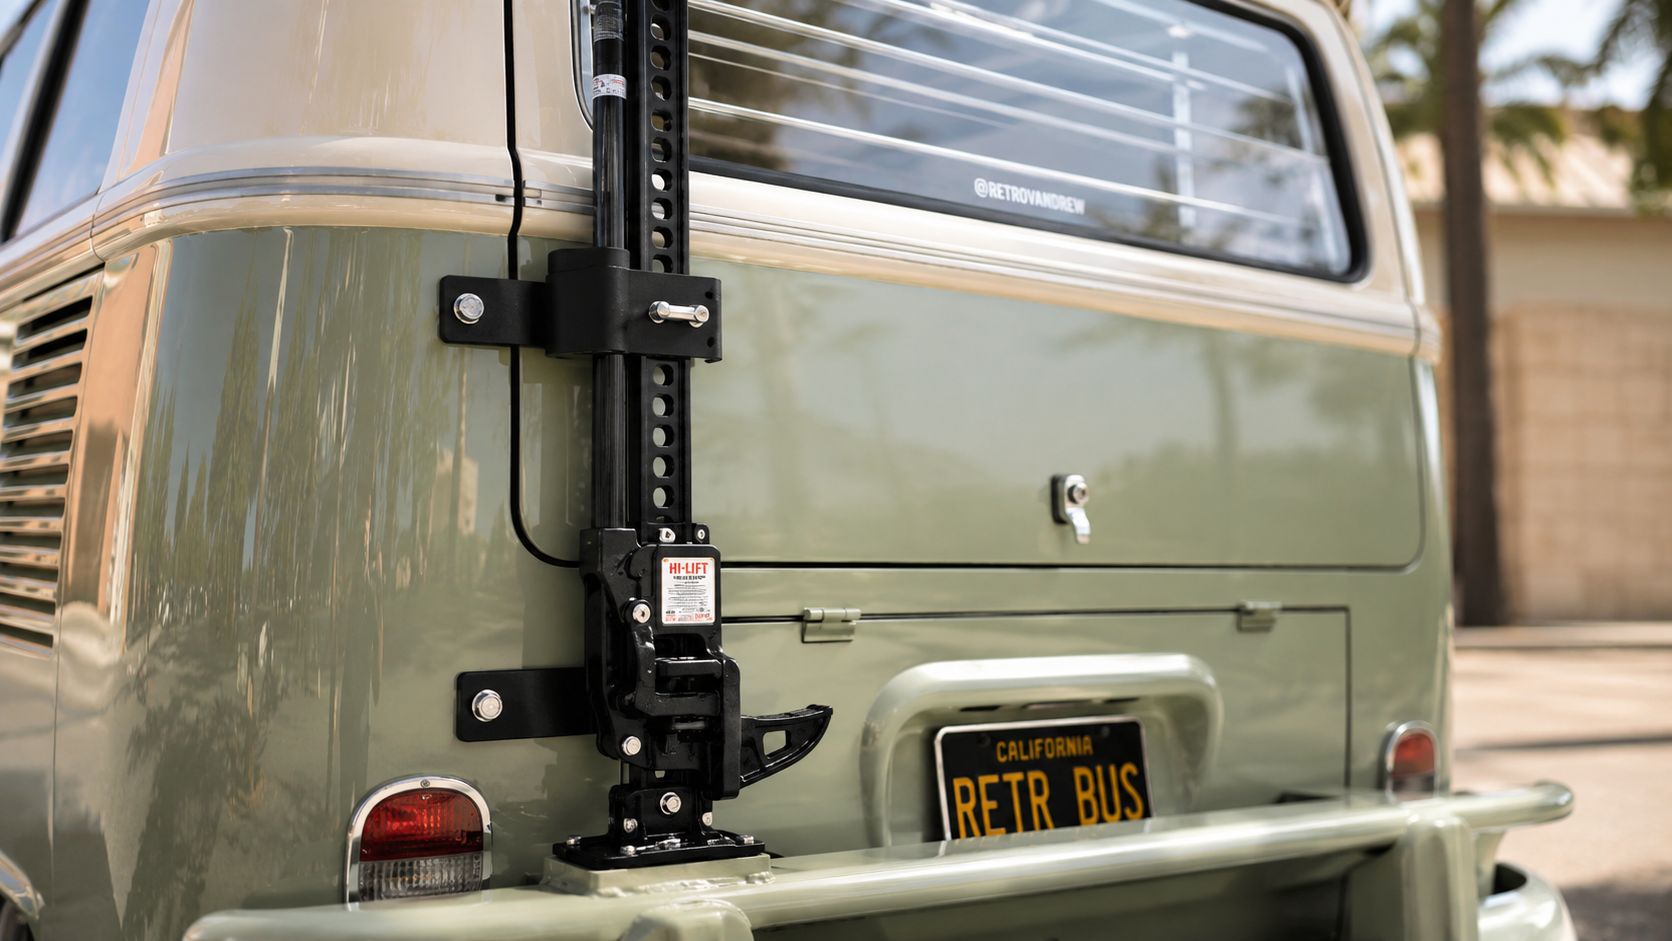
Roof platform setups on Kombis and T3s
If your van runs a proper roof platform, this is usually the most straightforward external option. The key phrase there is proper. A decorative basket or tired old gutter rack isn't the same thing as a well-supported platform system.
Yakima's bracket is designed to mount on the perimeter of the LockNLoad platform, which gives a specific mechanical interface and keeps the jack accessible while freeing space for larger tools, as shown in this Yakima LockNLoad Hi-Lift bracket demonstration. That sort of purpose-built fitment is what you want on a touring VW. Less guesswork, fewer weird clamp angles, and cleaner weight management.
Rear carriers and reinforced bars
A custom rear carrier can be excellent on a Kombi because it keeps the jack low enough to reach without climbing on tyres or sliders. It can also tuck the weight close to the back of the vehicle instead of hanging it off a roof line.
But there's a catch. The carrier needs to be tied into something substantial, not just skin panels or thin brackets.
Look for these signs of a good rear mount:
- Backed mounting plates behind the visible bracket.
- Short force path so the jack isn't bouncing far from the mounting structure.
- Clear engine access on rear-engined Volkswagens.
- No fouling with barn doors, tailgates, or spare wheel movement.
Spots I'd avoid on most classic VWs
Some places tempt people because they're easy to reach with a drill. Easy isn't the same as smart.
- Thin side panels on buses without reinforcement
- Old rain gutters with unknown rust history
- Engine lids and hatch skins
- Factory bumpers that look solid but aren't meant for this sort of side load
If the panel flexes when you lean on it by hand, it's not a proper home for a jack bracket.
A quick placement checklist
- Check the metal condition. Existing rust, filler, or old repairs rule out plenty of locations.
- Think about access in mud or sand. A jack you can't remove quickly is decorative, not practical.
- Keep centre of gravity sensible. High and far-outboard mounting changes how the VW feels.
- Test opening paths. Doors, hatches, pop-tops, and spare wheels still need to work.
Your Toolkit and Pre-Flight Checklist
The neat installs nearly always start the same way. The owner laid everything out first, checked the vehicle twice, and didn't improvise with random hardware from the bottom drawer. A high lift jack bracket install on a classic VW should feel more like careful restoration work than backyard guessing.
The tools worth having on the bench
You don't need a machine shop, but you do need the right basics.
- Torque wrench. This is the one people skip, then regret. Proper clamping force matters on a vibrating old vehicle.
- Socket set and ring spanners sized to your chosen hardware.
- Drill and sharp bits suitable for steel.
- Centre punch for accurate hole starts on painted or curved surfaces.
- Tape measure and straight edge so the mount sits square.
- Deburring tool or round file to clean fresh holes.
- Rust-proof primer, touch-up paint, and sealant for every drilled edge.
A soft pencil or paint marker also helps more than you'd think. On old VWs, accurate marking saves a lot of colourful language.
The hardware I'd insist on
For most installs, I'd want high-tensile bolts, matching washers, and nyloc nuts or another locking arrangement that won't loosen with vibration. Backing plates are often the unsung heroes. They spread load across a wider area and stop the bracket from concentrating stress into one patch of metal.
If you're carrying other touring gear as well, decent fastening gear matters across the board. Even something as simple as proper tie-down ratchet gear helps keep the whole setup organised and less likely to shift around.
Workshop note: The bracket is only as good as the hardware clamping it to the vehicle.
Pre-flight checks before the first hole
Run through this before drilling:
- Confirm the bracket clears all moving panels
- Inspect both sides of the mounting area for wiring, trim, fuel vapour lines, or hidden reinforcement
- Dry-fit the jack to the bracket so you know its actual size and reach
- Check corrosion risk if the vehicle lives near the beach
- Decide on anti-rattle measures now, not after the first noisy trip
This bit isn't glamorous, but it's where a tidy install is won.
A Step-by-Step Guide to a Pro Installation
Once you've chosen a proper location and laid out the tools, the install itself is straightforward if you stay methodical. Most problems come from rushing alignment, drilling crookedly, or tightening by feel instead of specification.
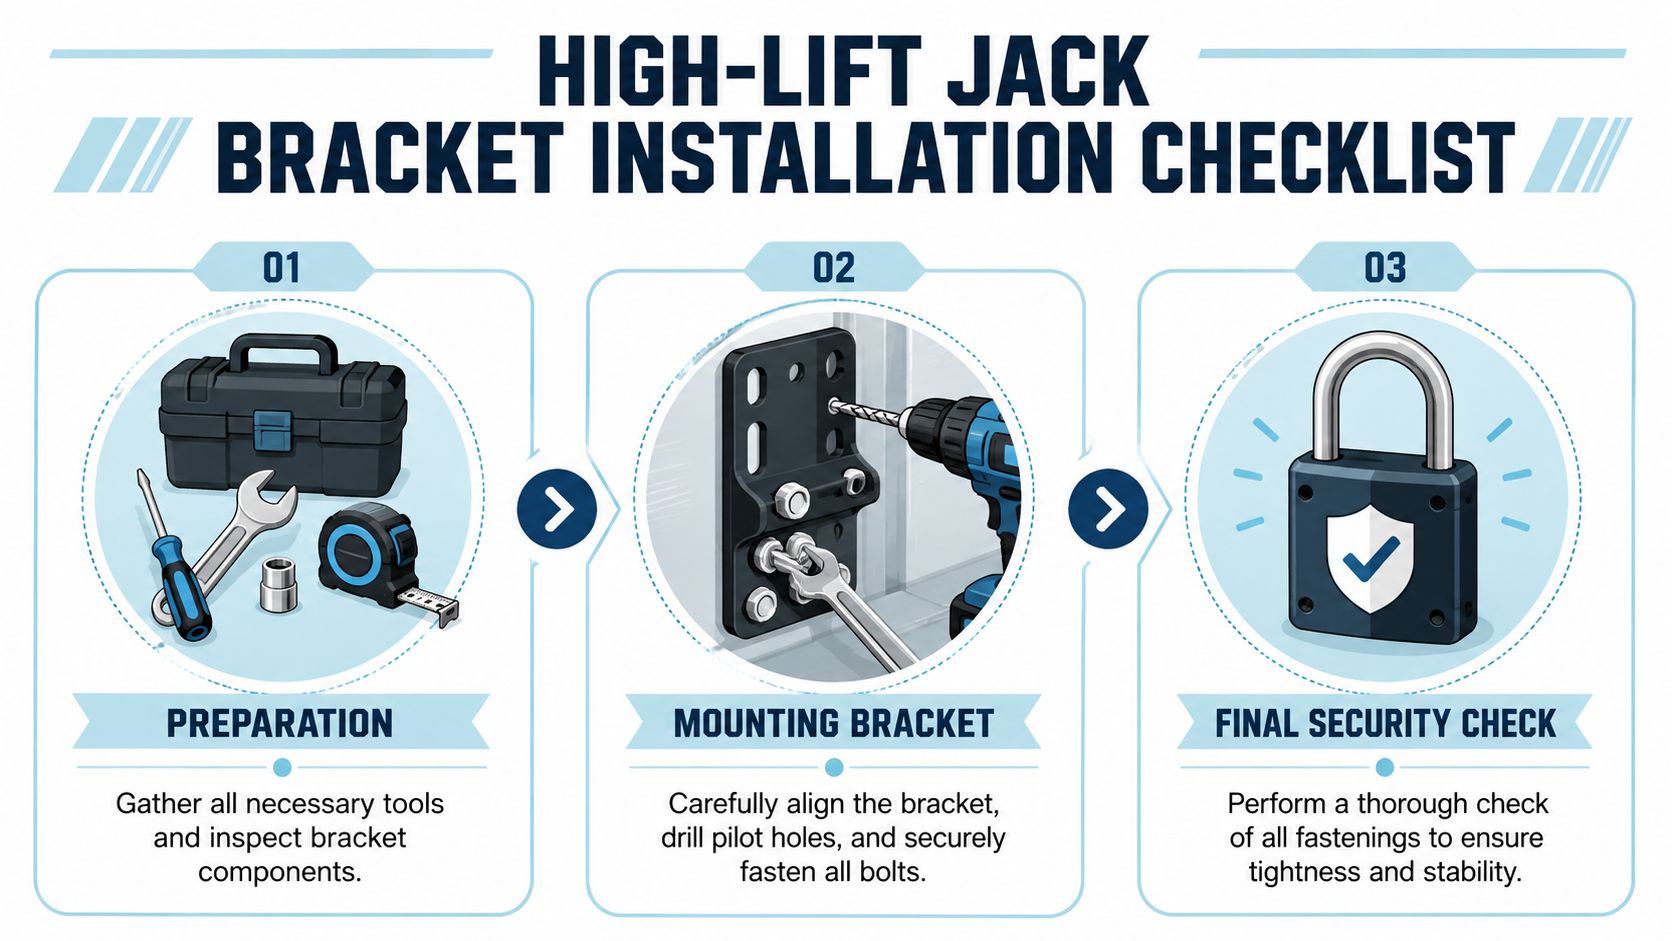
Phase one getting the surface ready
Start with a clean, dry mounting surface. Dirt under the bracket can throw the alignment off, trap moisture, and scratch paint as the bracket settles. If you're mounting to a rack or bar, remove oxidation and make sure the contact area sits flat.
Where the install uses a T-slot style mount on a steel bar, proper alignment matters. On AU-spec brush bar setups, successful installs begin with accurate alignment to the bar section before any final fastening. The same principle applies on VW rack tubes and custom carriers. Square first, tighten second.
Phase two mark drill and protect
Mark all holes with the bracket clamped in position. Use a centre punch so the drill bit doesn't skate across paint. Drill a pilot hole first, then step up to the final size rather than forcing one big bit through in one go.
After drilling, clean the hole edges and seal the exposed metal. This matters even more on a coastal Kombi that sees salt air, beach spray, or humid storage. Bare edges are where rust gets its first bite.
A sensible sequence looks like this:
- Clamp and test-fit with the jack in place.
- Punch the centres accurately.
- Drill pilot holes and re-check alignment.
- Open to final size only when everything still lines up.
- Prime, paint, and seal every fresh edge.
Phase three bolt up with reinforcement
Improper mounting can derail many backyard projects. Don't bolt directly through thin bodywork without a backing plate where one is needed. Spread the load, keep washers flat, and make sure the bracket isn't twisting as you tighten.
Field data from the Australian Off-Road Association indicates that 92% of successful installations in the AU region avoid inadequate torque settings, and that same issue accounts for 68% of bracket failures during extreme off-road use. That verified data is included in the AUORA figures provided for this topic. The lesson is plain enough. Torque isn't fussy workshop theatre. It's the difference between a mount that stays put and one that starts moving.
Tighten in stages. Snug everything evenly, check alignment, then bring the fasteners up to the specified torque with the wrench.
Final security checks before loading the jack
Before the jack goes on for good, inspect the mount from every angle.
| Check | What you're looking for |
|---|---|
| Bracket sitting flat | No visible rocking or gap at contact points |
| Backing plates seated | No distortion or pulling into body metal |
| Hardware alignment | Bolts straight, washers flat, threads clean |
| Sealant coverage | Every drilled edge and exposed contact point protected |
If anything looks forced, remove it and sort it. A bracket should look deliberate, not persuaded.
Finishing Touches for a Rattle-Free Ride
A freshly mounted bracket can still be annoying if the job stops at “it's bolted on”. The proper finish is what makes the setup feel sorted. That means security, anti-rattle control, and a habit of checking it before and after rough trips.
A good bracket should hold the jack firmly enough that it doesn't chatter over corrugations or shift when the van leans. Verified product specifications note that high-lift jack brackets are engineered to support static loads over 1,360 kg, and some use wing-nut fastening systems that prevent rattling during travel at speeds up to 100 km/h. Those details are listed on the C4 Fabrication horizontal Hi-Lift bracket specifications. For a VW owner, that's the benchmark mindset. Secure enough that the mount stays quiet and predictable on real roads.
What actually stops the noise
The biggest culprit is movement between metal parts. Not dramatic movement. Tiny repeated movement.
Use a mix of these:
- Wing-nut or clamping hardware that keeps steady pressure on the jack body
- Rubber isolators or contact pads where the jack touches metal
- A handle restraint so the jack handle can't bounce
- Padlock-ready mounting points if your bracket supports them
If the handle isn't restrained, it'll often be the first thing you hear.
A silent mount usually means a safe mount. Noise is often your first warning that something's loosening.
Theft prevention and maintenance
A high lift jack looks useful because it is useful. That also makes it attractive to thieves. If your bracket includes padlock holes, use them. If it doesn't, add a sensible secondary lock through a secure part of the bracket or carrier without compromising removal in an emergency.
Then keep the maintenance simple:
- After rough trips check for bolt movement and chipped coating
- After beach use rinse salt off the bracket, jack, and hardware
- Every so often remove the jack and inspect hidden contact areas
- At the first hint of rust clean and touch it up before it spreads
The old Volkswagen trick has always been the same. Small jobs done early save major grief later. That applies to recovery gear as much as engine tins and window seals.
If you're a true enthusiast and want that same laid-back VW spirit back at home, have a wander through Volkswagen Memorabilia. It's a top spot for officially licensed VW-themed gifts, collectible display pieces, and diecast favourites that suit any shed, office, or lounge room. If Kombis are your weakness, you can browse the main shop, check out the cheerful Volkswagen diecast collection, or go straight to pieces that capture the classic bus shape so well, including a 1962 VW Kombi diecast model, a colourful Flower Power Kombi model, and the always-popular Samba Bus diecast options. For Beetle fans, there are also plenty of Volkswagen Beetle model picks ready to round out a collection. Local stock and fast Australian shipping make it easy to buy with confidence, whether you're after a gift or adding another favourite to your own shelf.