Dent Removal Auto: A VW Fan’s Guide to a Flawless Finish

You roll into a Sunday meet with the Beetle washed, tyres dressed, chrome catching the morning light, and there it is. A small dent on the guard. Maybe it happened in a crowded car park. Maybe a loose door at the servo kissed the panel when you weren't looking. However it got there, that little mark can feel bigger than it is.

Anyone who's loved an old Volkswagen knows the feeling. These cars carry stories in their curves. The Beetle's rounded guards and the Kombi's broad sides aren't just sheet metal. They're memory, effort, and pride. Getting a dent sorted isn't vanity. It's part of keeping the magic alive, the same way a flawless miniature on the shelf reminds you what made you fall in love with the original in the first place.

That Heart-Sinking Moment the First Ding Appears

A dent has a way of stealing your eye. You stop seeing the whole car and start seeing only the blemish. On a tidy Beetle, one little ding on a front guard can feel like a shout. On a Kombi, a ripple on a long side panel seems to catch every reflection at once.
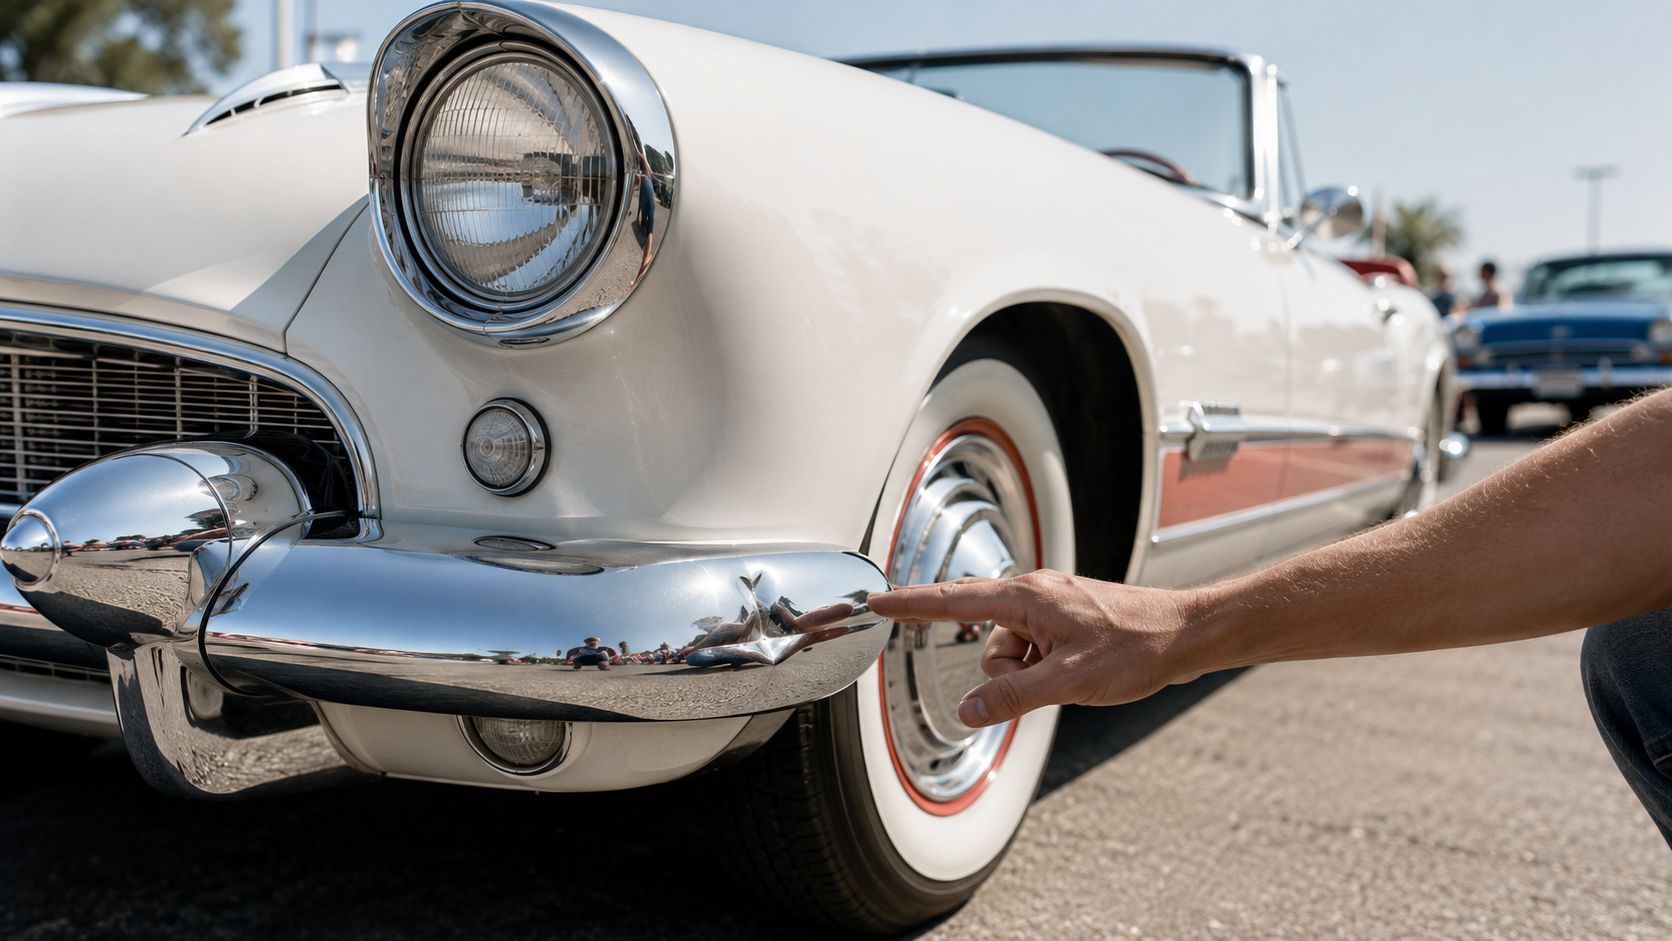
A person pointing to a small dent on the shiny chrome bumper of a vintage white car.

The good news is that a first ding isn't the end of the romance. It's usually the moment you start learning your car in detail. You begin to notice where the metal is forgiving, where access is tight, and why factory paint matters so much on a classic VW.

Why this matters more on an old Volkswagen

Classic Volkswagens wear their shape plainly. A Beetle doesn't hide panel imperfections behind sharp modern creases. A Kombi's sides are a big canvas. That means careful dent removal auto work can make a dramatic difference, but rushed work can leave a panel looking worse in certain light.

Practical rule: Treat the dent like a preservation job, not a shortcut repair.

A lot of owners jump straight for a gadget. Better to pause, make a cup of tea, and inspect the panel properly. A smooth shallow ding is one thing. A sharp crease with damaged paint is another beast altogether. The smartest enthusiasts know that patience at the start saves regret later.

And there's something satisfying about the whole ritual. You're not just fixing metal. You're restoring the line that made a Beetle charming and a Kombi iconic.

Assessing the Blemish on Your Beauty

Before any pulling, heating, or poking starts, you need to read the story of the dent. The panel usually tells you exactly what happened if you look closely enough. Stand the car where light runs across the surface and move your head side to side. Reflections reveal depth better than a quick glance ever will.
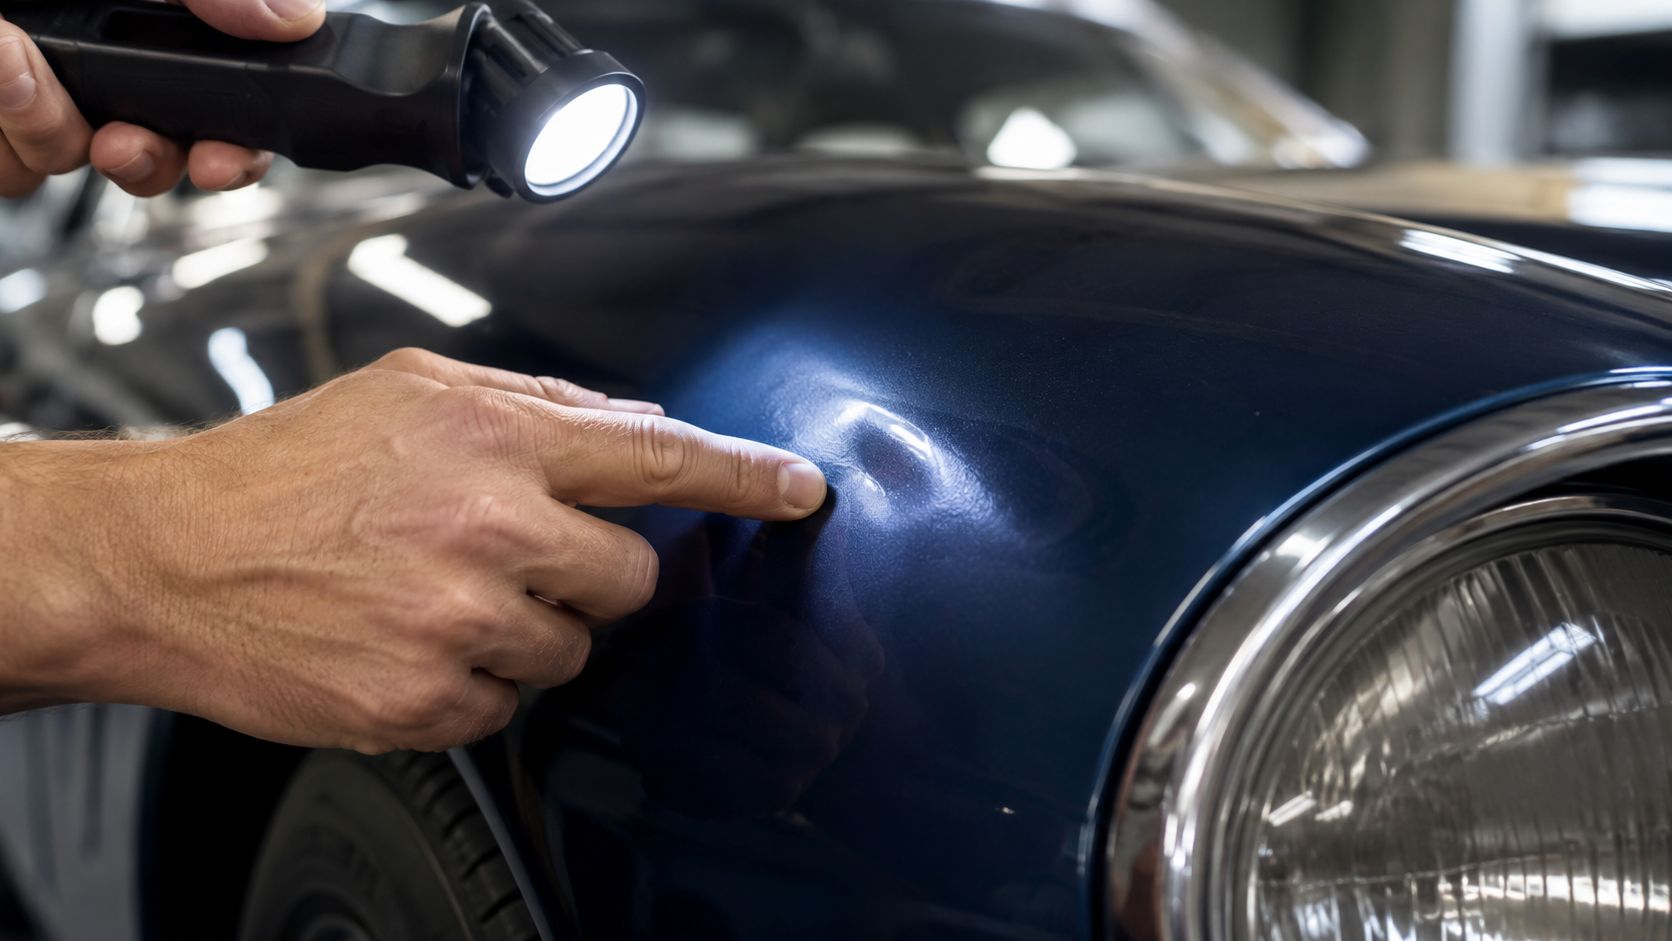
A technician inspecting a small dent on the hood of a blue car using a flashlight.

What to check first

Start with the paint. That's the make-or-break test.

A definitive benchmark for failure is any dent accompanied by cracked, chipped, or compromised paint, because Paintless Dent Removal addresses only the metal substrate and cannot restore surface paint integrity, as noted in this Carsales guide on DIY dent removal.

Then look at the shape. A smooth, rounded depression is usually kinder to deal with than a sharp crease. Body lines also matter. If the dent sits on the crisp edge of a panel, the repair becomes more delicate because the metal has been stretched and folded into a stronger shape there.

A simple inspection checklist

  • Paint condition. If you see chips, fractures, or paint lifting, stop thinking paintless.
  • Dent shape. Rounded dings are friendlier than pointed creases.
  • Panel location. Flat open metal is easier than edges, swages, or tight corners.
  • Rear access. If you can reach behind the panel, your options improve.
  • Reflection test. Use a torch or inspection light and watch how the lines bend.

Once you've looked over the panel, it helps to see how technicians approach the same problem in practice.

Reading the dent like a VW person

Beetle owners get good at this quickly. The rounded guards can turn a small dent into a visual nuisance because the light rolls so beautifully over them. Kombi owners face the opposite issue. Flat side panels make even shallow damage visible from metres away.

If the metal looks softly pushed in and the paint still looks healthy, you may have a worthwhile DIY candidate.

That doesn't mean every home fix will work. It means the panel has given you permission to proceed carefully.

Your Garage Toolkit for DIY Dent Removal

A decent home dent removal auto setup doesn't need to look like a body shop. What matters is choosing the right method for the right dent, and knowing when a tool's helping or when it's starting to bully the metal.
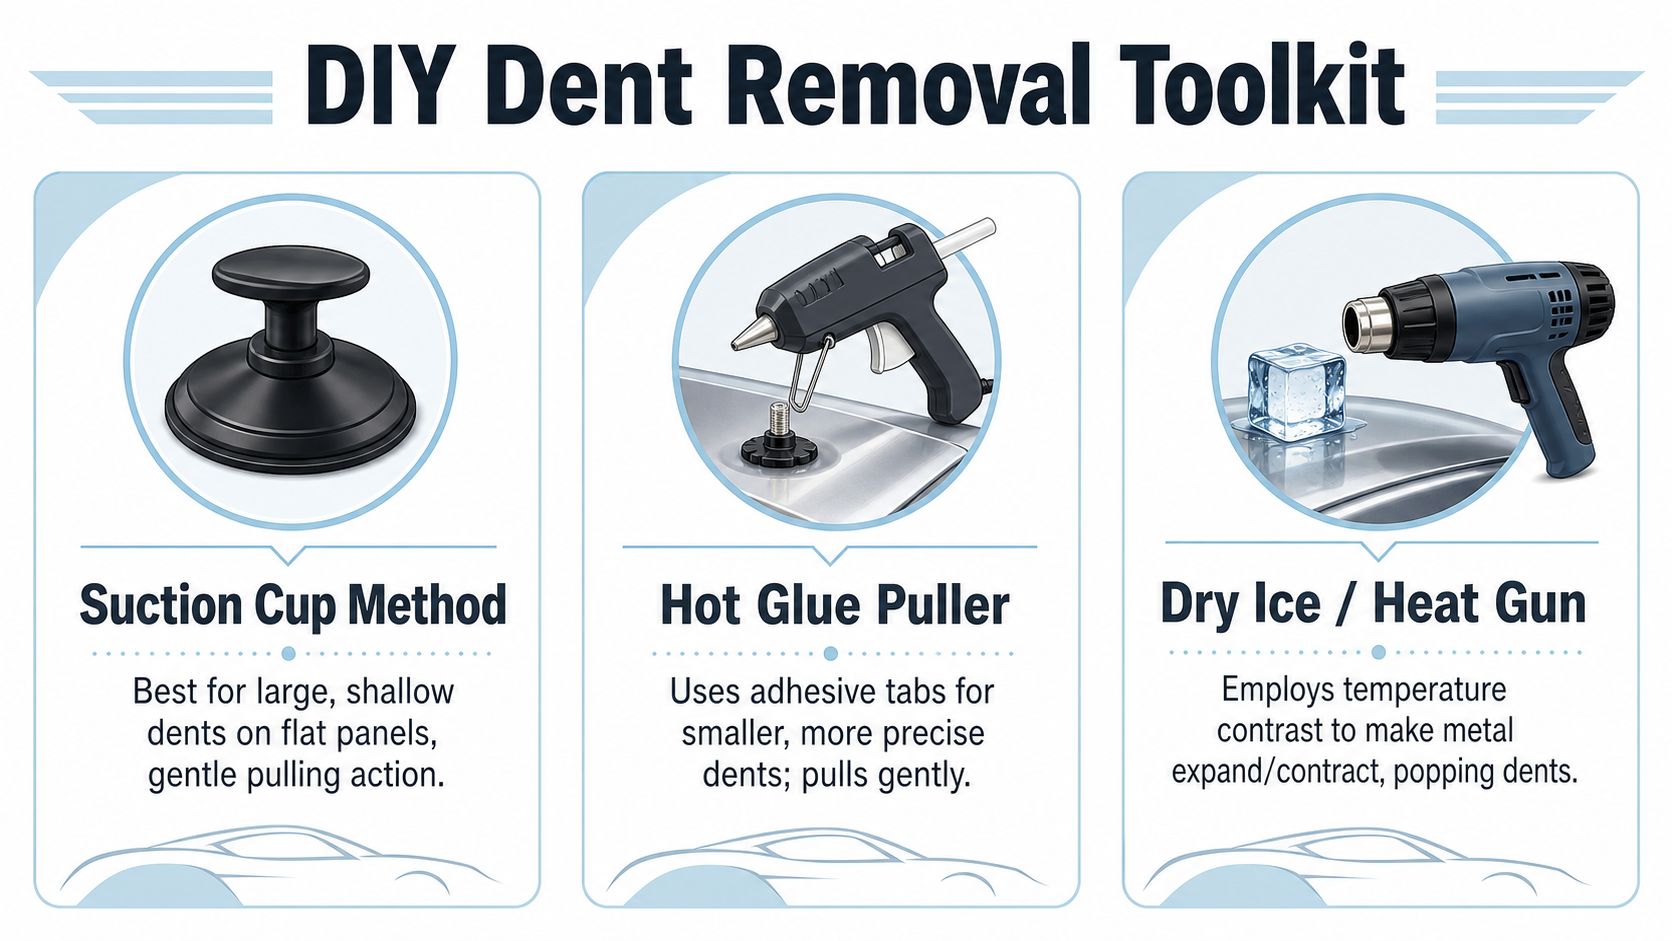
An infographic showing three DIY dent removal methods for cars using suction cups, glue, and temperature contrast.

The three methods most owners try

Method Best use Why it can work Why to be cautious
Suction cup puller Large, shallow dents on flatter panels Pulls evenly without adhesives Won't do much on sharp or tight dents
Heat and cold contrast Very mild surface distortions Metal expands and contracts with temperature change Results are inconsistent and paint needs care
Glue pull kit Smaller dents where rear access is limited Targets the centre with a tab and controlled pull Too much force can raise a high spot

Suction cup puller

This is the friendliest starting point for many DIYers. If a dent is broad and shallow, especially on a flatter area of a Kombi or a less curved section of a Beetle, a suction puller can sometimes coax the panel outward without drama.

Use a clean surface. Any dust trapped under the cup weakens the seal. Wetting the cup slightly can help it grab. Then pull steadily rather than yanking like you're starting a mower.

It's a blunt instrument, though. If the dent has a centre point or sits near an edge, you'll often get very little movement.

Heat and cold contrast

This old shed trick has been around for ages. The idea is simple. Warm the panel, then introduce cold so the metal contracts and may move back toward shape. Owners usually use a hairdryer rather than anything more aggressive.

The catch is consistency. Sometimes nothing happens. Sometimes the panel shifts a little. Sometimes the result is too subtle to notice unless you knew exactly where to look. It's best seen as a gentle experiment for very minor marks, not a guaranteed fix.

Workshop note: Be gentle with heat on older paint. The goal is warmth, not punishment.

Glue pull kit

When you can't reach behind the panel, glue pulling is the method most closely associated with paintless repair. It needs a steadier hand than social media clips make it seem.

For dents lacking rear access, a glue pull is used. You heat glue until drizzling, apply it to a tab, press onto the dent, wait 30–60 seconds, then pull gently with a slide hammer using a quick tap to avoid creating high spots, as described in this paintless dent technique guide.

A few practical habits make a difference:

  • Match the tab to the dent. Too large and you pull too much area. Too small and you over-focus the force.
  • Watch the reflections. Stop after each pull and inspect. Don't chase perfection blindly.
  • Work gradually. Several light attempts beat one heroic tug.
  • Know when to quit. If the panel starts rising around the dent, you're creating trouble.

If you're also tracking down trim pieces, clips, or other bits while tidying a project car, it's worth bookmarking VW parts in Australia for broader restoration inspiration alongside your panel work.

What belongs in a sensible starter kit

  • A small suction puller for broad shallow dings.
  • A hairdryer for mild temperature-contrast attempts.
  • A basic glue pull kit with tabs in different sizes.
  • Microfibre cloths because dirt on the panel ruins good judgment.
  • A torch or inspection light so you can read reflections clearly.

The trick isn't owning every tool. It's stopping before enthusiasm outruns skill.

The Classic VW Touch for Beetles and Kombis

A Beetle and a Kombi ask for different hands. I learned that years ago helping a mate with a door ding on a cream Beetle, then later fussing over a ripple on a splitty's side panel before a local show. Same family badge. Completely different personalities in steel.

The Beetle rewards finesse. Its curves mean the panel often needs tiny, patient corrections because a slight distortion becomes obvious as light slides over the guard. A Kombi is more about broad visual harmony. You're usually trying to make a larger flat area read cleanly again from a few steps back.

Where each model tends to test you

  • Beetle guards can be deceptively tricky because their rounded form magnifies poor finishing.
  • Beetle doors may offer useful access once trim is removed, but old clips and cards deserve care.
  • Kombi sides give you room to work visually, though large flat areas show waviness fast.
  • Kombi interior panelling can sometimes provide useful access routes if you remove pieces carefully.

In the Australian market, the passenger van variant of the Type 2 was specifically marketed as the VW Kombi, a name that became synonymous with our local surf and road trip culture, as noted in this history of the VW Kombi in Australia.

That's why panel care feels personal on these vans. A Kombi isn't just transport. It's picnic rugs, boards on the roof, and salt in the air.
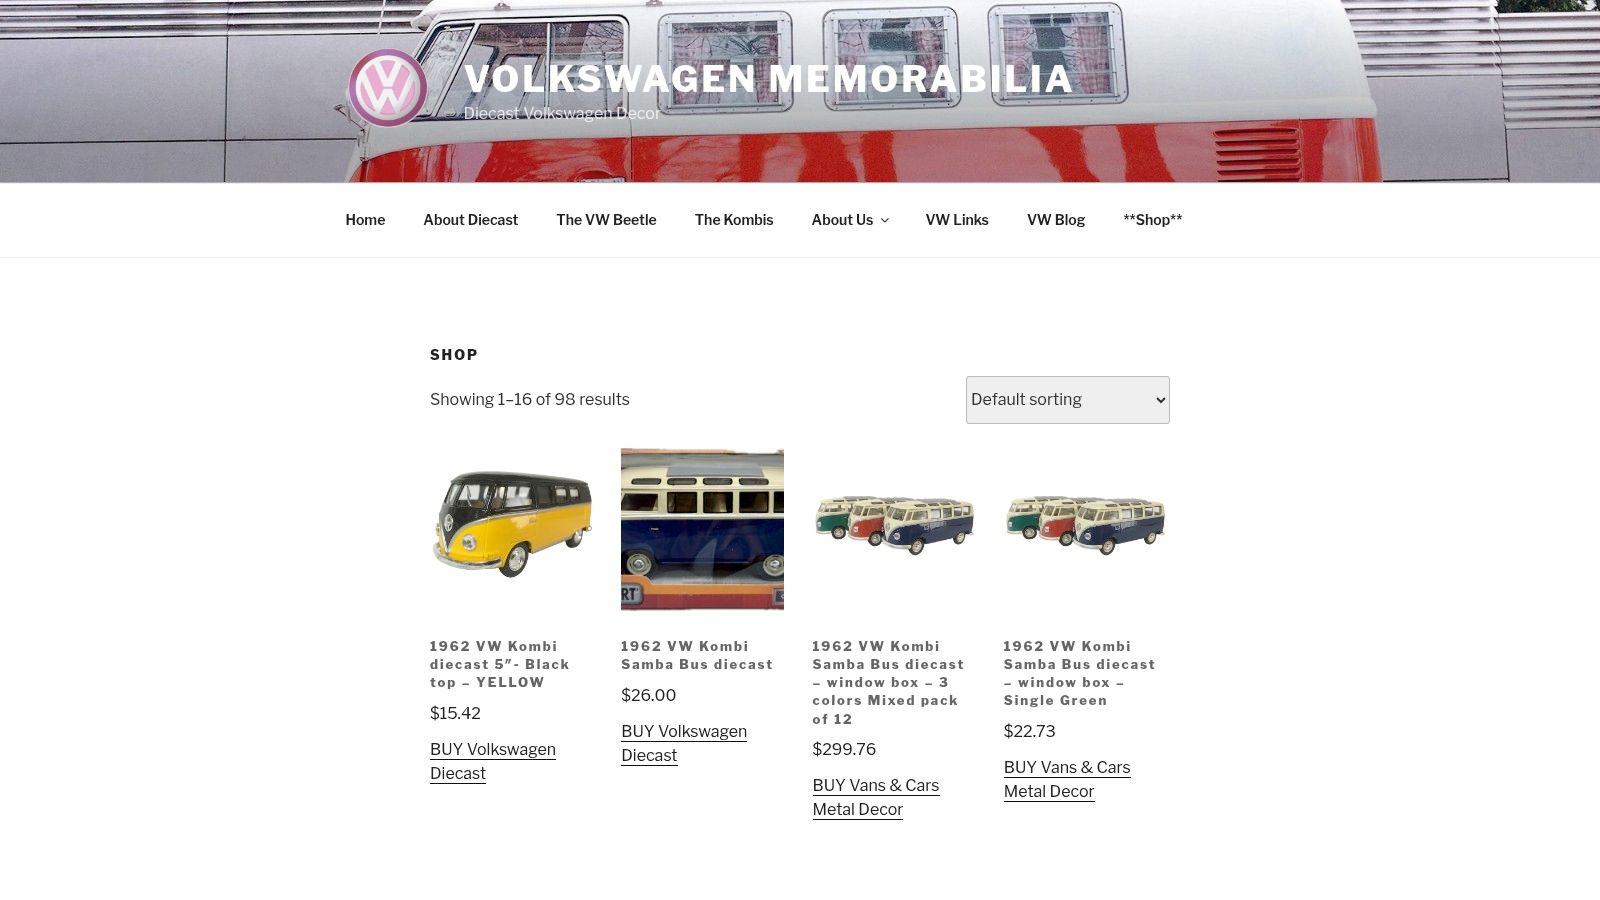
Screenshot from https://vwmemorabilia.com.au/shop/

A well-finished Beetle panel has the same satisfaction as seeing the proportions captured perfectly in miniature. That's part of the charm behind old-school collecting. The same rounded bonnet, the same cheerful stance, the same silhouette that made you stop and smile. If you enjoy tracing those details from full-size car to model form, Volkswagen Beetle parts inspiration is a useful rabbit hole to wander down.

When to Call a Pro for Your Pride and Joy

Smart enthusiasts don't prove anything by forcing a bad DIY repair. They protect the car. That means recognising the jobs that need a technician with proper PDR tools, lighting, and experience.

Professional help makes sense when the dent sits on a body line, has a sharp crease, or leaves you unsure whether the metal has stretched too far. It also makes sense if your first attempts have started to make the reflection look uneven. High spots are easy to create and annoying to undo.

In Australia, professional Paintless Dent Repair for a single panel typically costs between $150 and $250 AUD, while conventional methods can range from $800 to $2,000+ AUD and take days instead of hours, according to this Australian dent repair cost guide.

That's a strong argument for calling a pro early on the right job. You preserve the factory finish, avoid filler and repainting where possible, and save yourself the misery of turning a tidy little ding into a bigger panel drama.

A good repair isn't the one you did yourself. It's the one that leaves the car looking right.

Keeping That Shine and Celebrating the Legend

Once the dent's sorted, step back and check the panel in natural light. Wash the area properly, use a gentle polish if appropriate for the finish, and compare reflections from several angles. A repair that looks perfect under garage lighting can tell a different story in afternoon sun.

Prevention matters too. Leave extra room in car parks. Be picky about where you park at shows. On a Kombi, think about the long flank catching wandering doors. On a Beetle, remember those lovely guards sit where bumps are easy to notice. If you're freshening the whole look of the car, details such as car rim powder coating options can complement panel care beautifully.

A few habits worth keeping

  • Clean before inspecting. Dust can disguise a dent or mimic one.
  • Use light, not guesswork. Reflections tell the truth.
  • Respect original paint. Preserving factory finish is often the ultimate win.
  • Keep perspective. These cars are meant to be enjoyed, not hidden away in fear.

There's a lovely connection between repairing a real Volkswagen and admiring a licensed diecast one on a shelf. Both come down to shape, finish, and affection for the design. You're keeping a piece of motoring history looking the way it deserves to look, whether it lives in the garage, on the road to the coast, or in a display cabinet beside old rally badges and surfy postcards.


If keeping a Beetle or Kombi looking its best is part of how you celebrate the marque, it's worth taking that same care indoors too. Browse the officially inspired collection at Volkswagen Memorabilia, where Australian VW fans can find local stock, fast shipping, and a warm mix of diecast models, gifts, and nostalgic pieces that keep the spirit of the classic Volkswagen alive long after the garage door closes.
Automotive Dashboard Covers: A VW Lover’s Guide

You pull into a local Show & Shine early, before the crowd thickens. The Beetle next to you wears fresh paint, polished hubcaps, and the sort of stance that tells you its owner has spent plenty of late nights in the shed. Then the owner opens the door, sunlight spills across the cabin, and there it is. A dash top gone chalky. A crack starting near the speaker grille. Another old VW copping the slow punishment of Australian sun.

That’s the bit non-enthusiasts don’t always understand. On a classic Volkswagen, the dashboard isn’t just trim. It’s part of the whole feeling. You grip the wheel, glance across that simple horizontal line, and you’re right back in beach trips, servo stops, and family runs in a bus that smelled faintly of warm vinyl and salt air. When the dash starts to fade or split, it feels personal.

For years, automotive dashboard covers were treated like an afterthought. A practical little accessory. Nothing exciting. But if you own a Beetle, Kombi, or Samba Bus in Australia, you learn pretty quickly that a good dash cover is less “extra” and more “quiet hero”. It protects one of the most visible surfaces in the cabin, softens glare when the light gets harsh, and can make an ageing interior feel looked after again.

For classic VW owners, there’s another wrinkle. Generic advice usually talks about modern cars with flatter dashboards and easier fitment. It doesn’t talk much about old Beetles with curves in all the wrong places for a universal mat, or Kombis with wide dash layouts that show every ripple if the cover isn’t cut properly. That gap matters, because vintage Volkswagens need more than a one-size-fits-most answer.

That Heart-Sinking Moment A Sunny Day and a Cracked Dash

The moment usually arrives when everything else looks right.

You’ve washed the Bug on a Friday night. The chrome trim is sparkling. Maybe the Kombi’s got the striped chairs in the back and the esky packed for a coastal run. Then morning light hits the windscreen, and the dashboard tells the truth. Not loudly. Just enough to spoil the mood. A faded patch above the instrument binnacle. A hairline crack that wasn’t there last summer. Vinyl that’s starting to look tired instead of proud.

A view through the open window of a vintage beige Volkswagen car showing its cracked dashboard.

I’ve seen it happen at swap meets and club mornings all over. One mate with a tidy Beetle had done the hard bits already. Mechanicals sorted, paint looking sweet, seats retrimmed with real care. But every time someone leaned in for a look, their eyes dropped straight to the dash. That top surface had gone from supple to brittle, and no amount of polish could hide it.

Why it stings more in a classic VW

A modern car can carry a few cosmetic sins without changing the vibe too much. Old Volkswagens are different. Their cabins are so simple that every visible surface counts. The dash is always in the frame.

That’s why automotive dashboard covers make sense in this world. Not because they’re flashy, but because they’re protective in the most old-school way possible. They shield what you can’t easily replace, and they do it without asking you to alter the character of the car.

A classic VW interior doesn’t need gimmicks. It needs protection that respects the shape and spirit of the original cabin.

A cover isn’t admitting defeat

Some owners resist the idea because they think a dash cover means covering up a problem. I don’t see it that way. On a survivor car, it’s preservation. On a restored car, it’s insurance. On a driver, it’s common sense.

If your Beetle or Bus still has a good original dash, protect it before the damage starts. If it’s already marked, a well-chosen cover can tidy the look while giving the old material a break from heat and sun. Either way, you’re not taking something away from the car. You’re helping it stay itself for longer.

Why Your Classic VW is Crying Out for a Dash Cover

Australia is beautiful on paintwork in the morning and brutal on interiors by afternoon. That’s the plain truth. A classic VW might love a sunny run down the coast, but the dashboard pays for it.

According to Shevron’s guide to dashboard covers, vehicles in Australia face 3,000-3,500 hours of sunlight annually, and quality dashboard covers can block up to 99% of UV rays. The same source says multi-layer constructions can reduce dashboard surface temperatures by 20-30°C and can help extend material lifespan by 5-7 years under real-world AU conditions.

An infographic comparing the pros and cons of using dashboard covers for classic Volkswagen vehicles.

That isn’t a small gain for a car with old vinyl, old glue, and old plastics.

The three enemies sitting on your windscreen line

What hurts a classic VW dashboard most usually comes down to three things:

  • UV exposure
    Sunlight dries out surfaces over time. On older dashboards, that often shows up as fading first, then cracking.

  • Heat soak
    Anyone who’s climbed into a parked Beetle in January knows how fierce cabin heat can get. Once that heat builds up day after day, the dash material can start to warp, harden, or pull away.

  • Windscreen glare
    Even if your dash isn’t damaged yet, a shiny surface can reflect back onto the windscreen. On bright days, that glare gets tiring fast.

Why a cover earns its keep

A quality dash cover tackles all three problems at once. It acts like a sacrificial layer, taking the punishment before the original dash does. That matters in old Volkswagens because replacement parts for the exact look and fit you want aren’t always sitting on a shelf waiting for you.

Here’s the practical view:

Threat to the dash What the cover does Why a VW owner should care
UV Shields the original surface Helps preserve colour and texture
Heat Buffers and disperses surface heat Reduces stress on ageing materials
Glare Adds a more matte top layer Makes driving more comfortable

Practical rule: If you’d use a car cover to protect paint, use a dash cover to protect the cabin. The dashboard takes just as much punishment, only from the inside.

It’s not only about concours cars

Some owners hear “preservation” and think this only applies to garage queens. It doesn’t. The cars that need help most are often the ones doing real duty. Beach runs. Sunday coffee runs. Club days. School pick-up in a tidy old Bug if you’re lucky enough to live that life.

Automotive dashboard covers suit that kind of use because they’re simple. No drama, no major modification, no need to reinvent the interior. Just one sensible layer between the Aussie sun and one of the most vulnerable parts of your cabin.

Choosing the Right Material for Your Bug or Bus

Material choice changes the whole feel of the car. It also changes how the cover behaves on hot days, under glare, and after months of use. If you’re choosing automotive dashboard covers for a classic Volkswagen, don’t just ask what’s available. Ask what suits the personality of the car.

A clean, understated Beetle often suits something different from a surfy Kombi with roof racks and period stickers. The best material is the one that protects the dash and still looks like it belongs there.

Carpet for the old-school practical owner

Carpet-style covers are the workhorses. They look honest, sit unassumingly in the cabin, and usually feel most at home in a driver-grade classic. If your VW gets used often, this is a strong place to start.

According to DashProtecPH’s discussion of dashboard cover materials, high-quality dash covers can include heat-resistant thermal foam layers and non-reflective matte surfaces that reduce glare by 40-60%. The same source says carpet-style covers can outperform vinyl by 25% in abrasion resistance.

That lines up nicely with what VW owners tend to value in a practical interior. Carpet doesn’t shout. It just gets on with the job.

Velour for a softer custom look

Velour sits in a different lane. It has a slightly more plush finish, and it can make an old cabin feel a touch richer without looking out of place. If your Beetle has a carefully restored interior and you want the dash cover to blend in rather than look utilitarian, velour can be a lovely fit.

It also tends to suit owners who enjoy a more refined aesthetic inside the cabin. Think less commercial van, more cherished club car.

Suede-look for a modern edge

Suede-look materials appeal to owners who want a cleaner, more contemporary presentation. On the right VW, especially one with subtle custom touches, they can look terrific. They’re especially appealing if glare reduction is high on your list.

The trade-off is that they usually ask for a bit more careful cleaning and attention. Nothing dramatic, but enough that you’ll want to treat them as a visible trim piece rather than a rough-and-ready utility item.

A quick way to decide

If you’re stuck, this comparison helps:

Material Best suited to Cabin feel
Carpet Daily-driven Beetles and Kombis Period-friendly, hardy
Velour Restored interiors and club cars Softer, dressier
Suede-look Tasteful customs and neat drivers Modern, low-glare

For many owners, carpet remains the safest all-rounder. It’s durable, forgiving, and visually at ease in an old Volkswagen. Velour is great if you want a slightly more refined finish. Suede-look works when the rest of the interior supports it.

If you’re already browsing other VW-inspired accessories and display pieces, it’s worth keeping the overall aesthetic in mind while you explore the main VW collection. The best choices usually feel consistent, not forced.

The Art of the Perfect Fit for Vintage Volkswagens

Fitment is where generic advice falls apart.

A lot of dashboard cover marketing sounds fine until you try laying one over a Beetle dash with its soft curves, raised details, and quirky proportions. The same goes for a Kombi, where a broad dash can reveal every wrinkle, every misplaced vent cut-out, and every edge that doesn’t quite sit down properly.

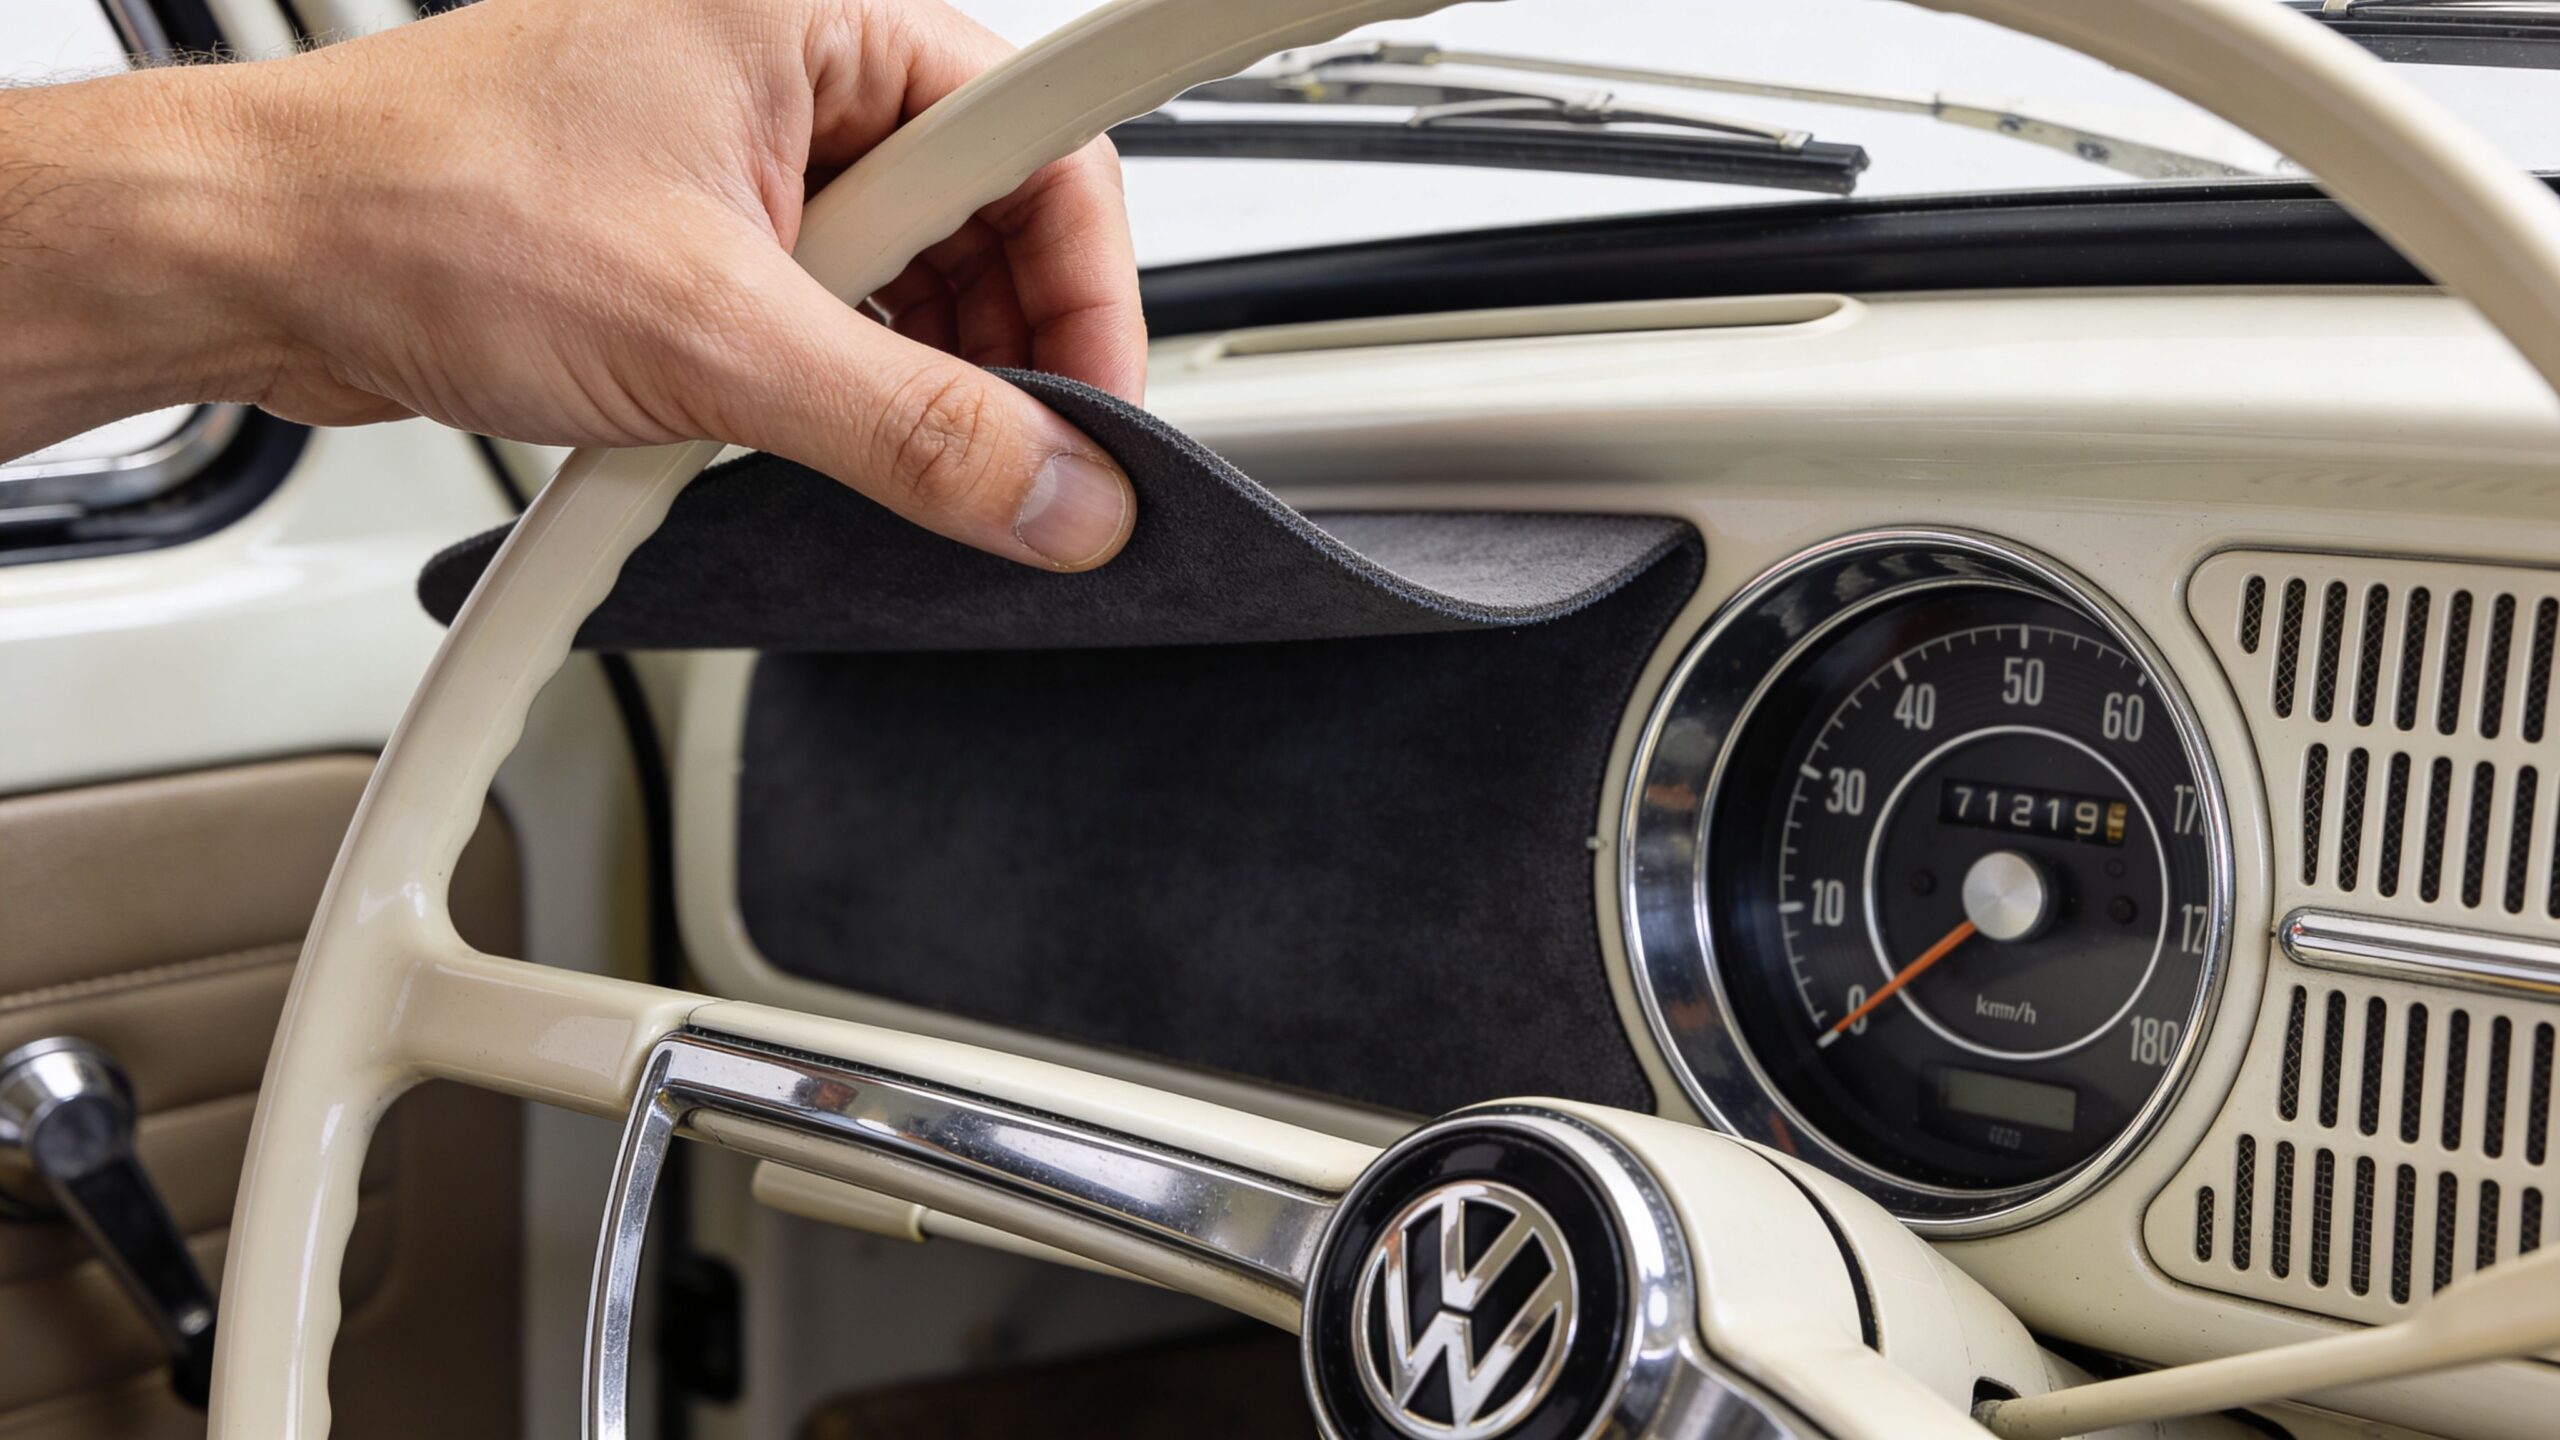
A hand placing a custom gray automotive dashboard cover onto the vintage dashboard of a classic Volkswagen vehicle.

That frustration isn’t in your head. A 2025 CarsGuide survey referenced via Covercraft found that 28% of Aussie classic car owners prioritise interior protection but are blocked by fitment issues. The same reference notes over 50 unanswered queries on Australian forums in 2025 asking for custom options for curved Beetle and Samba Bus dashboards.

Universal rarely means vintage-friendly

A universal cover can work in a pinch on some modern dashboards because the shapes are flatter and the tolerances are less obvious. Vintage Volkswagens punish lazy fitment. They just do.

Look at the common options:

  • Universal covers
    Cheap and easy to find. Usually the riskiest option for a Beetle or Bus because the shape is too generic.

  • Semi-custom covers
    Better, but still dependent on broad templates. These can suit some owners if the dash shape is simple enough.

  • Full-custom covers
    Best option when you care about edge shape, vent placement, gauge clearance, and an overall tidy appearance.

What to check before you buy

When you’re assessing a listing, slow down and read the specifics. Good fitment details matter more than salesy language.

Look for:

  • Exact model and year references
    “Volkswagen Beetle” isn’t enough on its own. You want the listing to be clear about year range and body style.

  • Vent and accessory cut-outs
    Demister vents, speaker openings, sensor cut-outs, and any retrofitted gauges should be considered.

  • Photos showing the cover installed on a similar dash
    Flat lay photos won’t tell you much about edge behaviour.

For visual inspiration on how interior details shape the mood of a vintage bus, this Volkswagen Transporter camper interior collection is a good reminder that fit and finish affect the whole experience, not just one panel.

Safety matters as much as neatness

The old “it’ll do” attitude can catch people out. A poorly fitting cover can obstruct vents or sit awkwardly around instrument clusters. In later classics or retrofitted setups, owners should be especially careful around any added accessories or equipment.

Here’s a helpful visual if you’re comparing fit styles and install approaches:

Buy for the shape of your dash, not the convenience of the listing. A vintage VW will expose shortcuts immediately.

Installation and Care Tips from the Paddock

Fitting a dash cover isn’t hard, but old Volkswagens reward patience. Rushing the job usually leads to lifted corners, crooked alignment, or Velcro that lets go once the cabin warms up.

Start with a clean dashboard. Dust, old silicone dressings, and greasy residue are the enemy of a neat installation.

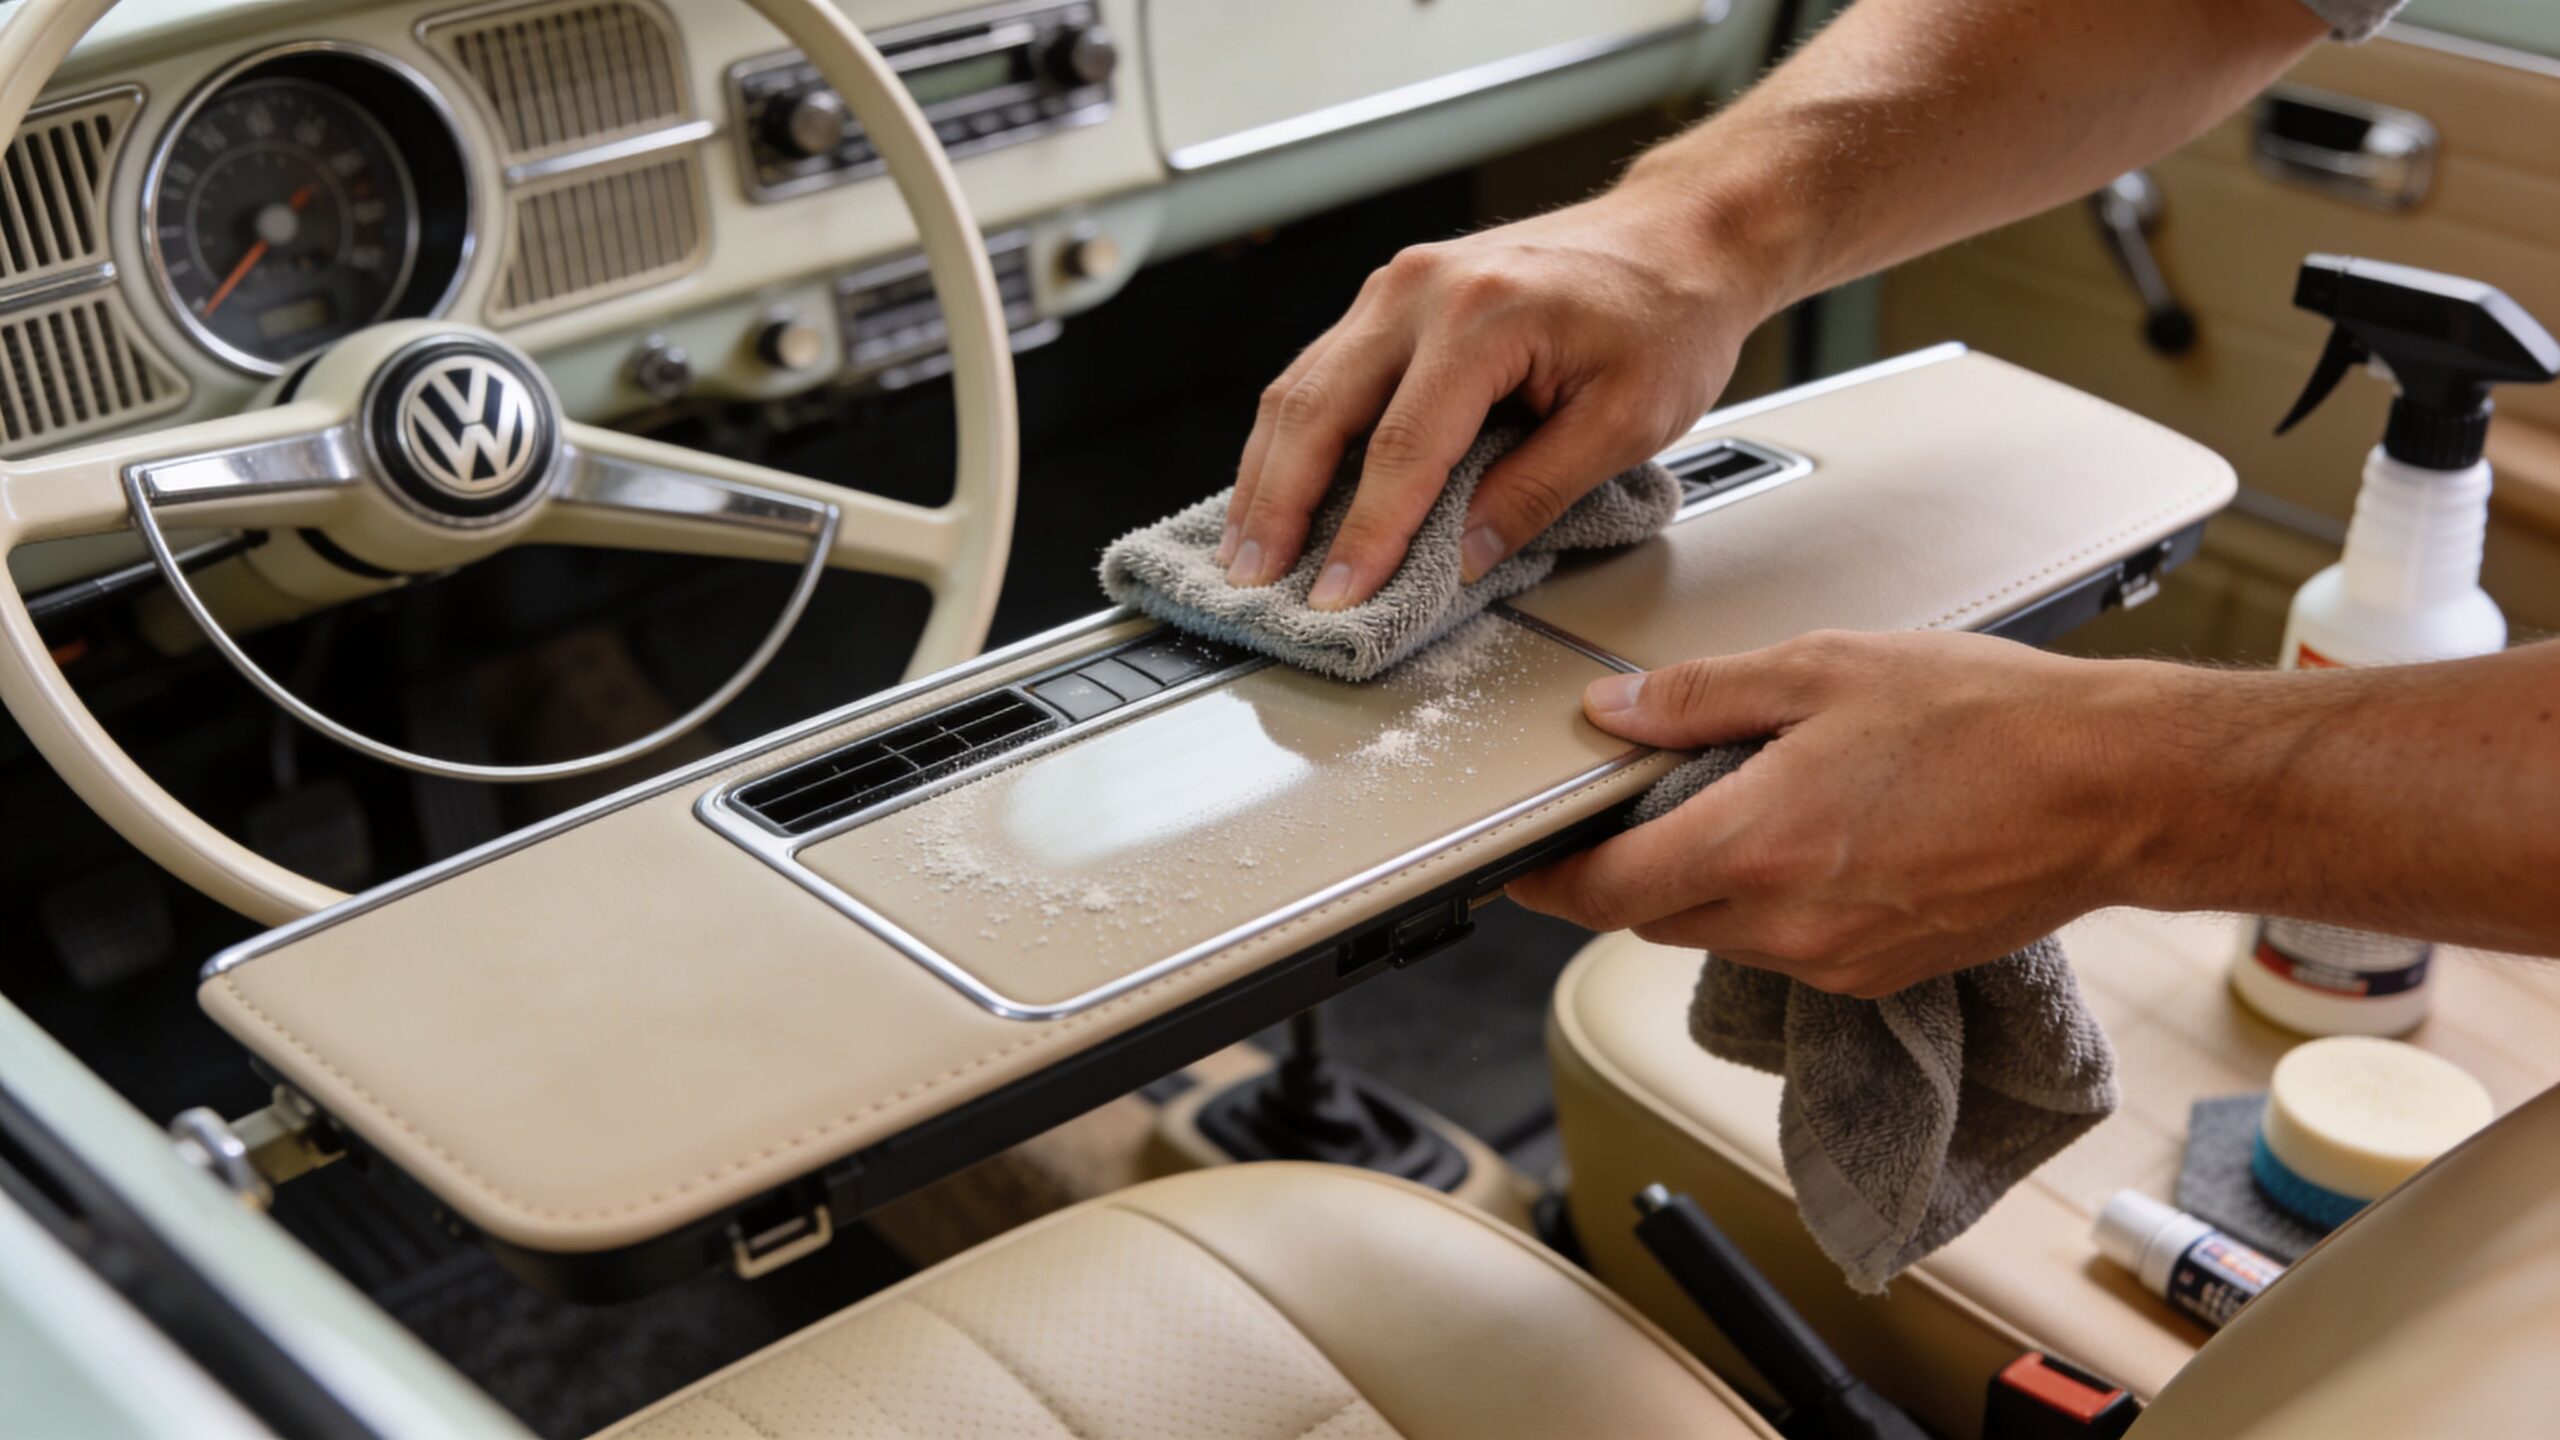
A person cleaning a vintage Volkswagen dashboard with a grey microfiber cloth and a cleaning spray bottle.

A simple Saturday arvo fitting routine

This is the method I’d suggest to any mate in the garage:

  1. Dry-fit first
    Lay the cover on the dash before peeling anything. Check vent cut-outs, speaker areas, and edge alignment.

  2. Clean the contact points
    Use a gentle interior-safe cleaner and a microfibre cloth. Let the dash dry fully before attaching Velcro tabs.

  3. Anchor the centre first
    Get the middle sitting correctly, then work outward. That helps prevent the cover from creeping sideways.

  4. Press and leave it alone for a bit
    Give the adhesive time to bond properly. Don’t keep lifting and re-sticking unless you have to.

If you like seeing how dashboard accessories can integrate neatly into a VW cabin, this VW Caddy Maxi dashboard accessory example shows how much cleaner a cabin feels when the dash area is thoughtfully styled.

How to deal with wrinkles and movement

Fresh out of the packaging, some covers arrive with light creases. That’s normal. Lay them flat, install them carefully, and let time help the fabric relax into shape. A bit of warmth in the cabin can help the material settle, but don’t force it.

If the cover slips, the cause is usually one of three things:

  • Dirty mounting surface
    Old dressing products can stop adhesive tabs bonding well.

  • Misaligned first placement
    If the centre is off, the edges often lift later.

  • The wrong cover shape
    Sometimes the problem isn’t installation. It’s poor fitment from the start.

Garage note: Clean less aggressively than you think. On original VW vinyl, a gentle wipe is smarter than soaking the surface with harsh products.

Ongoing care without fuss

Carpet covers generally like a light vacuum. Velour benefits from a softer brush or a careful once-over with a lint roller. Suede-look materials prefer a gentler hand again. Avoid saturating any of them.

The aim isn’t perfection. It’s consistency. A quick clean now and then keeps the cover looking tidy and stops dust from turning the top of your dash into a faded-looking strip across the cabin.

Styling Your Cockpit The Ultimate VW Memorabilia Stage

A good dash cover protects the car. A great one also frames the cabin properly.

That’s the part enthusiasts enjoy most once the practical decision is made. The dashboard becomes the visual base note of the interior. Get the colour and texture right, and suddenly the steering wheel, chrome trim, gauges, and all those little period details look sharper.

A Beetle story in small details

I once saw a tidy Beetle at a club day with a plain dark dash cover that matched the rest of the cabin beautifully. Nothing loud. Nothing custom for the sake of it. But because the top line of the dashboard was calm and non-reflective, the painted glovebox surround and bright trim stood out more. The whole interior looked intentional.

That’s the trick. A dash cover shouldn’t fight the car. It should make the rest of the cockpit easier to appreciate.

Pairing the cover with your VW vibe

Different interiors call for different styling choices:

  • Original-minded restorations
    Stick with understated tones and textures that don’t jar against factory-style trim.

  • Surfy Kombis and beachy buses
    A practical, matte cover can give the cabin a relaxed look that suits striped fabrics, timber touches, and coastal accessories.

  • Neat custom builds
    A smoother finish can tie in nicely with retrimmed seats and carefully chosen steering wheels.

If your taste spills beyond the car and into your shed, office, or home display, the same thinking works there too. A neat, nostalgic VW scene often comes together best when the backdrop isn’t busy. That’s true in the cabin and just as true when browsing VW-themed vintage home accessories.

The dashboard as a display mindset

No, I’m not suggesting you clutter the dash with bits and pieces. Quite the opposite. The lesson from memorabilia collecting applies here. A good display gives each object room to shine. A good dashboard cover does the same for the interior.

Think about what you want people to notice when they lean into the window of your Beetle or Bus. The wheel? The gauge cluster? The painted metal? The period radio? A calm, well-fitted dash cover helps direct the eye to those features instead of to faded vinyl or a spiderweb crack.

That’s why automotive dashboard covers belong in the wider VW lifestyle. They’re practical, yes. But they also help the car tell its story properly.

Your Questions Answered From the VW Show and Shine

Can a dash cover hide an already cracked dashboard

Usually, yes. It won’t repair the original material underneath, but it can make the cabin look much tidier and stop your eye being drawn straight to the damage. The better the fit, the better the result.

Are dash covers worth it on a weekend-only VW

Absolutely. Weekend cars often spend long periods parked, and that can be rough on interiors if they’re sitting in light or heat. Even limited-use classics benefit from protection.

What about later VWs with added accessories or retrofitted gear

Check the cut-outs carefully before buying. If your car has added gauges, sensors, or other cabin modifications, a generic cover may create more frustration than value. In those cases, model-specific fitment matters even more.

Will a dash cover look out of place in a restored interior

Not if you choose the material and colour well. A good one should feel like part of the car, not something tossed on top of it. Carpet often suits period cabins nicely, while velour or suede-look can work in more refined interiors.

Can I remove one later without drama

Most quality covers are designed to be removable, especially those fitted with adhesive-backed tabs rather than permanent fasteners. The key is to install them on a clean surface and avoid cheap adhesives or rough handling.

Is this only for owners chasing show points

Not at all. Plenty of people fit automotive dashboard covers because they drive their Volkswagens. They want the cabin to stay neat, reduce glare, and avoid more damage. That’s practical ownership, not fussiness.


If you love the look and spirit of classic Volkswagens, Volkswagen Memorabilia is well worth a browse. You’ll find locally stocked VW-themed gifts, diecast favourites, and coastal-inspired pieces that suit collectors, restorers, and anyone who can’t walk past a Beetle or Kombi without smiling. Whether you’re after a nostalgic present, a display piece for the shed, or something special to celebrate the VW lifestyle, it’s a lovely Australian shop to keep on your radar.