


You've got a fresh door ding, a supermarket kiss on the bumper, or a mysterious crease that showed up after a tight garage shuffle, and now you're staring at the panel wondering if it's a five-minute fix or a proper body-shop job. The honest answer is that how to remove dents from car panels depends on paint condition, panel material, and whether you can get behind the damage without making it worse. On a classic Beetle or Kombi, that decision matters even more, because factory paint, thinner steel, and awkward access can turn a quick fix into a mess if you rush it.
Spotting the Dent and Deciding If It Is a DIY Job
The first thing I do is look at the dent like it's telling me a story. If the paint is cracked, the metal has a sharp crease, or the dent sits right beside a badge, sensor, camera, or trim line, that's already a warning sign that a home fix may not be the smart play. Small, shallow dents with intact paint are the only ones I'd call friendly territory for a driveway repair.
Read the panel before you reach for any tool
Press around the dent with the flats of your fingers, not your thumbnail. If the panel flexes and springs back a little, that usually means you're dealing with a light deformation rather than a stretched crease, and that's a much better candidate for suction, heat, or PDR-style nudging.
If you can reach behind the panel, you've got more options. If you can't, and the dent is on a modern bumper cover or near sensitive hardware, the risk climbs fast. Neutral guidance from AutoZone and RAC-backed advice both point to the same practical threshold, some dents can be softened and pushed out, but overheated paint, sharp creases, and inaccessible backsides are where DIYs tend to go sideways.
Practical rule: if the paint is intact, the dent is shallow, and the panel is flexible, you've probably got a DIY job. If any one of those three is missing, slow down and reassess.
For vintage Volkswagens, I'd be even stricter. A Beetle door or Kombi side panel can often be reached from behind, but once you see cracked paint or a stretched ridge, the job starts moving out of “Saturday arvo” territory and into restoration work.
Gathering Your DIY Dent Repair Toolkit
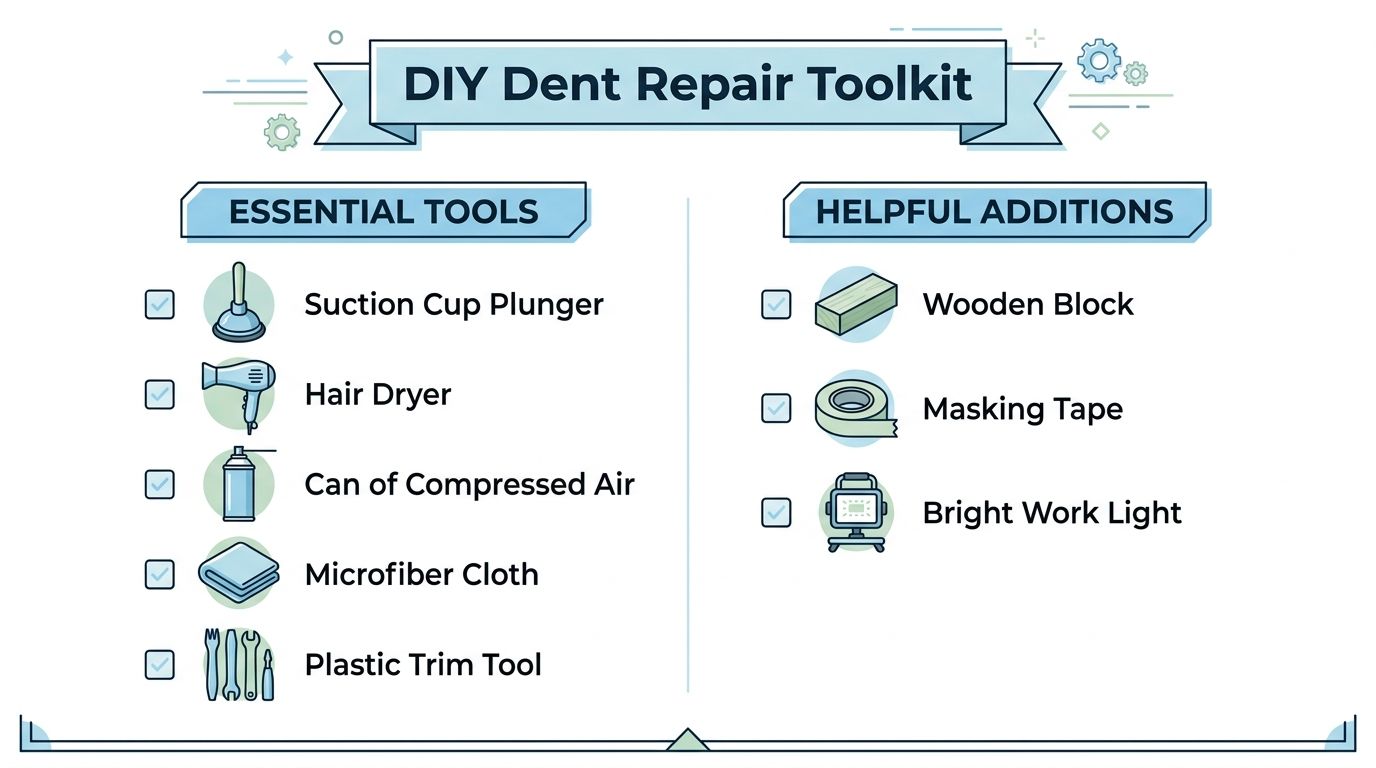
A decent kit makes the whole job calmer. You don't need a workshop full of gear, but you do need the right basics so you're not improvising with a kitchen plunger and a prayer.
What to have on hand
- Hair dryer with controllable heat: use it gently, not on full blast unless the method calls for it.
- Suction plunger or dent puller: a clean seal matters more than brute force.
- Microfibre cloths: good for cleaning, drying, and protecting the paint.
- Nitrile gloves: useful when you're pushing from behind warm panels.
- Plastic trim tools: safer than metal tools around clips and edges.
- Automotive glue sticks and a small puller: handy for shallow, slightly deeper dents.
- Fine sandpaper and light body filler: only for dents that need finish work, not quick pop-outs.
- Isopropyl alcohol: helps clean the surface before suction or glue.
- Torch or work light: lets you read the panel from the side so you can see highs and lows.
RAC guidance recommends warming plastic bumper panels with a hair dryer held 5 to 7 inches away on medium heat before applying firm hand pressure or a suction method to avoid paint damage, so a hair dryer with sane temperature control is worth having RAC dent repair guidance.
A sensible starter kit for home use usually lives somewhere between a basic plunger and a more complete grab bag of trim tools, glue tabs, and lights. I'd also lay a soft blanket or moving pad on the driveway before you start, because once you've got the panel warm, you don't want grit scratching anything while you work.
Plunger, Boiling Water and Suction Methods for Shallow Dents
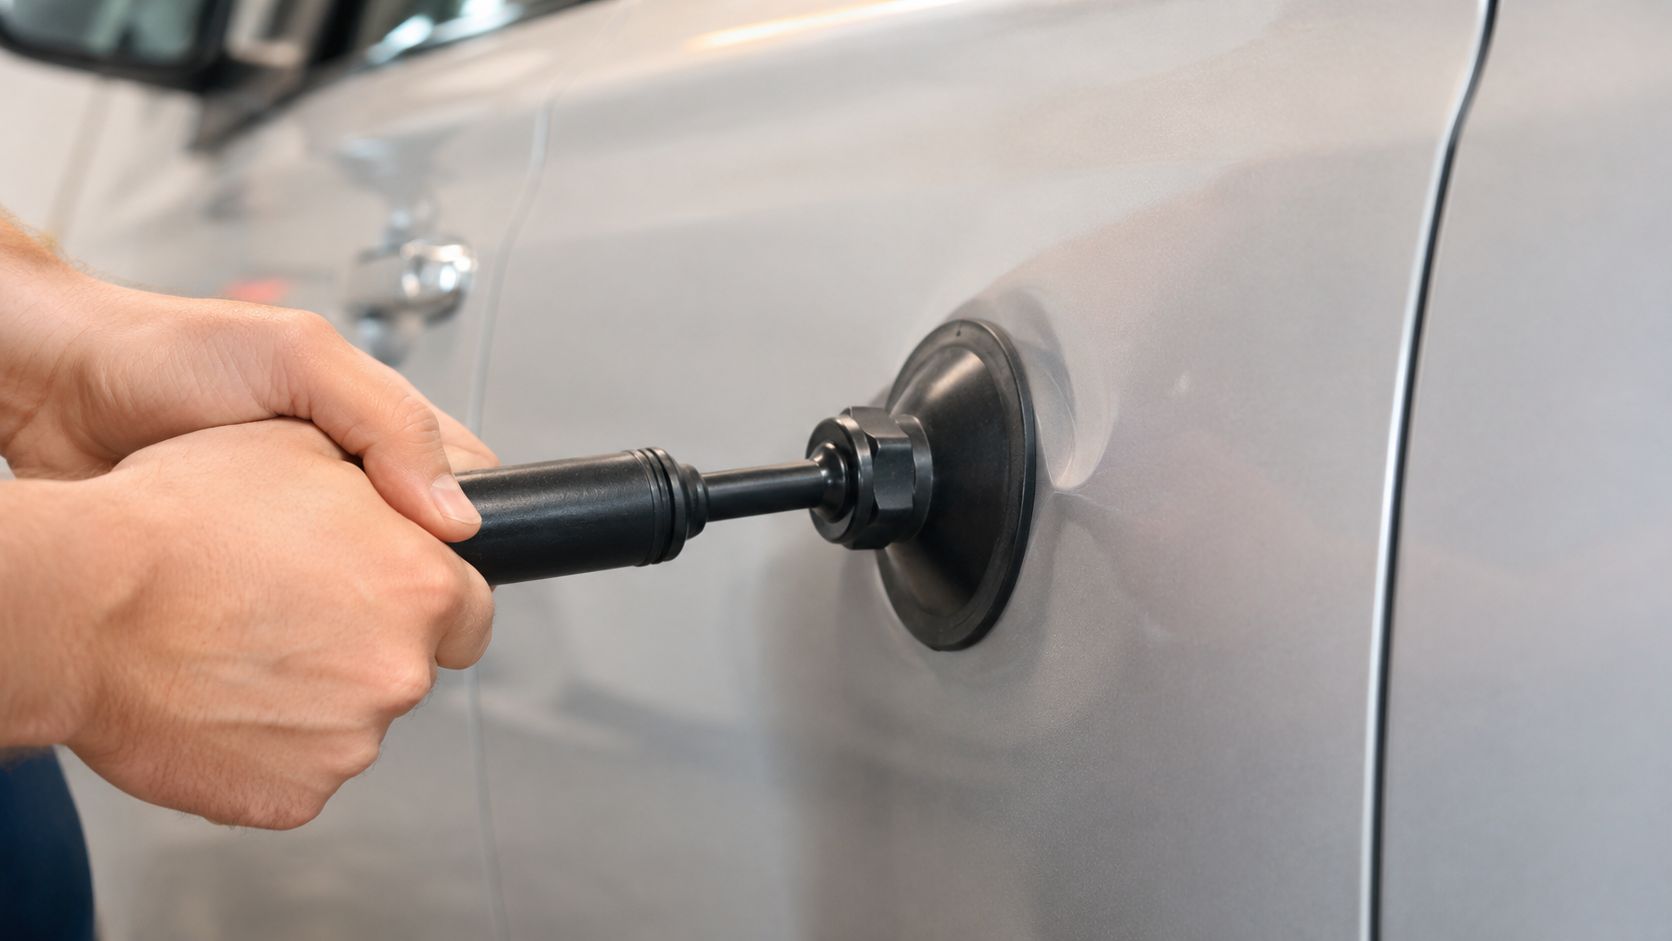
A shallow dent is where suction earns its keep. The trick is not to yank like you're starting a mower, it's to seal cleanly and pull with controlled force so the panel moves instead of the paint lifting.
Suction plunger done properly
Start by cleaning and drying the dent and the plunger. Wetting both surfaces helps the seal, then press the plunger straight over the centre of the dent and pull in short, vigorous jerks until the panel pops back into shape, which matches common suction-based repair guidance WikiHow minor dent repair.
Wet it, seal it, pull straight, and stop if the edge starts to distort.
A toilet plunger can work on broader, smooth dents, but it's not magic. If the plunger is too small, too dirty, or sitting on a panel edge, the grip disappears fast. On a Kombi side panel, I'd treat suction as a first pass, not a guarantee.
Boiling water for plastic bumpers
For a small plastic bumper dent, a documented DIY method is to pour boiling water over the area, reach behind the bumper, and push the dent out while the plastic is softened, then cool it with cold water so the plastic sets again Car and Driver dent repair. That approach belongs on flexible plastic, not on a painted steel guard from a Beetle.
Small pullers versus brute force
Small suction cups with a screw-type puller give you more control on smooth, shallow dents than a big old plunger. They're especially handy on bumper covers and broad door skins where you want a little persuasion, not a wrestling match.
A careful point here, don't pull from the edge of a badge or moulding, and don't work over fresh paint. That's how a simple ding becomes a much pricier panel repair.
Hot and Cold Tricks Plus Paintless Dent Repair Basics
The heat-and-cold method works because metal and plastic respond to temperature swings. Warm the dented area first, then cool it sharply, and on some shallow dents the surface can shift enough to relax back towards shape.
Using heat without cooking the paint
Australian repair guidance from DingGo notes that DIY dent methods use the same basic physics as paintless dent repair, with a hair dryer held about 10 cm away, then the dent pushed back from behind while wearing gloves, and it specifically warns against maximum heat because of paint-damage risk DingGo dent removal guide. That's the right mindset, gentle warmth, not a paint-stripper session.
Another heat-and-cold technique uses a hair dryer on the highest setting to warm the area, then compressed air sprayed upside down for rapid cooling, with one guide using about 5 minutes of heating and another using roughly 60 seconds, so the exact timing clearly varies by method and product Credit Acceptance dent removal. I'd treat those timings as a cue to watch the panel, not a stopwatch contest.
PDR basics for the home shed
Paintless dent repair is the cleanest foundation for minor dents when the paint is still intact. The idea is simple, massage the metal from behind while it's warm and workable, then let the surface settle back without sanding or filler.
Best-fit PDR job: a small, round dent with unbroken paint and access behind the panel.
Use the right tool for the job is the rule I'd keep in mind here. On a classic VW, that often means reaching inside a door or quarter panel carefully, using gloved hands or a soft PDR tool, and leaving sharp creases to someone with more experience.
An important line in the sand, PDR suits intact paint and manageable dents. It doesn't suit cracked paint, stretched steel, or a panel that's already been repaired badly once.
Glue Pullers and Light Filler for Slightly Deeper Dents
When suction won't bite and the dent's a bit deeper, glue tabs can bridge the gap. The trick is to pull straight, not sideways, and to stop as soon as the metal comes up near its original line.
How a glue puller helps
Choose a tab that suits the size of the dent, clean the area well, and warm it lightly if the glue system calls for it. Apply the adhesive, let it set, then attach the puller and work the tab in a straight line so the deepest part of the dent rises without dragging a new wave into the panel.
Don't chase perfection with glue alone. If you over-pull, you'll leave a high spot that's just as annoying as the original ding.
When filler makes sense
For a metal dent that's gone past the tidy-pull stage, a documented repair workflow involves sanding the paint off about 2 to 5 inches around the dent, applying body filler, letting it dry for 15 to 20 minutes, then sanding the filler smooth until it sits flush with the surrounding panel Synchrony dent repair guide. That's no longer a quick cosmetic pop-out, it's finishing work.
Once filler comes out, you're aiming for a stable surface, not a showroom miracle.
A skim of filler can be fine on a tired daily driver where appearance matters more than originality. On a collectible Beetle or Kombi, though, I'd be far more careful about how much original metal and paint you remove, because that history is part of the car's value.
The honest move is to stop sanding as soon as the panel is flat enough to live with. Home repairs look rough when the filler is too thick or the sanding edge is obvious in sunlight.
Cost and Time Comparison of DIY Versus Professional Repair
A dent repair decision usually comes down to two questions, how long do you want to spend, and how fussy do you want the finish to be? DIY can save money and teach you a lot, but it also asks for patience, steady hands, and a willingness to walk away when the panel starts fighting back.
DIY vs Professional Dent Repair in Australia
| Method | DIY Cost (AUD) | DIY Time | Finish Quality |
|---|---|---|---|
| Suction plunger on a shallow dent | Low, often just the tool itself | Minutes to an hour | Good for simple dents, variable on edges |
| Boiling water on a plastic bumper | Low | Short | Fair on flexible plastic, not for steel |
| Hair dryer and push from behind | Low to moderate | Short to moderate | Good when paint is intact and access is easy |
| Glue puller and light filler | Moderate | A weekend job if you're careful | Better, but needs sanding skill |
| Professional PDR or panel repair | Higher than DIY | Usually faster once booked in | Best for consistency and return-quality finish |
For many owners, the maths is simple. A cheap plunger can rescue a minor ding, but a professional is the smarter spend when the car is leased, financed, or destined for show use, because the finish standard matters at hand-back or sale.
Keep receipts for any professional work and photos of the damage before repairs. That's just sensible paperwork, especially if the car needs a claim or if you want a clean record for future resale. Volkswagen service book style record-keeping is a good habit even when you're doing the repairs yourself, because evidence of care always helps later.
Working on Vintage VW Beetle and Kombi Panels
A dent on a Beetle bonnet or a Kombi side panel can look simple from the outside, then turn awkward as soon as you get tools on it. Classic Volkswagens ask for a softer hand. The steel is often thin in the wrong spot, the paint may still be original, and getting behind the panel can mean more gymnastics than repair.
Why old VW panels change the job
Heat needs a lighter touch on vintage paint, because too much of it can mark the finish or start lifting old coating. AutoZone dent repair advice also warns that heat-based fixes can damage paint if you push them too far. On a vintage VW, that means lower heat, smaller tabs, and slower movements than you'd use on a newer daily driver.
Access changes the whole job as well. A Beetle rear quarter or Kombi sliding door might give you a way in behind the dent, but the angle is often awkward and the panel can flex when you don't want it to. Once the back side is hard to reach, a home repair turns delicate quickly, and a small push in the wrong spot can leave a high spot that's harder to clean up than the original dent.
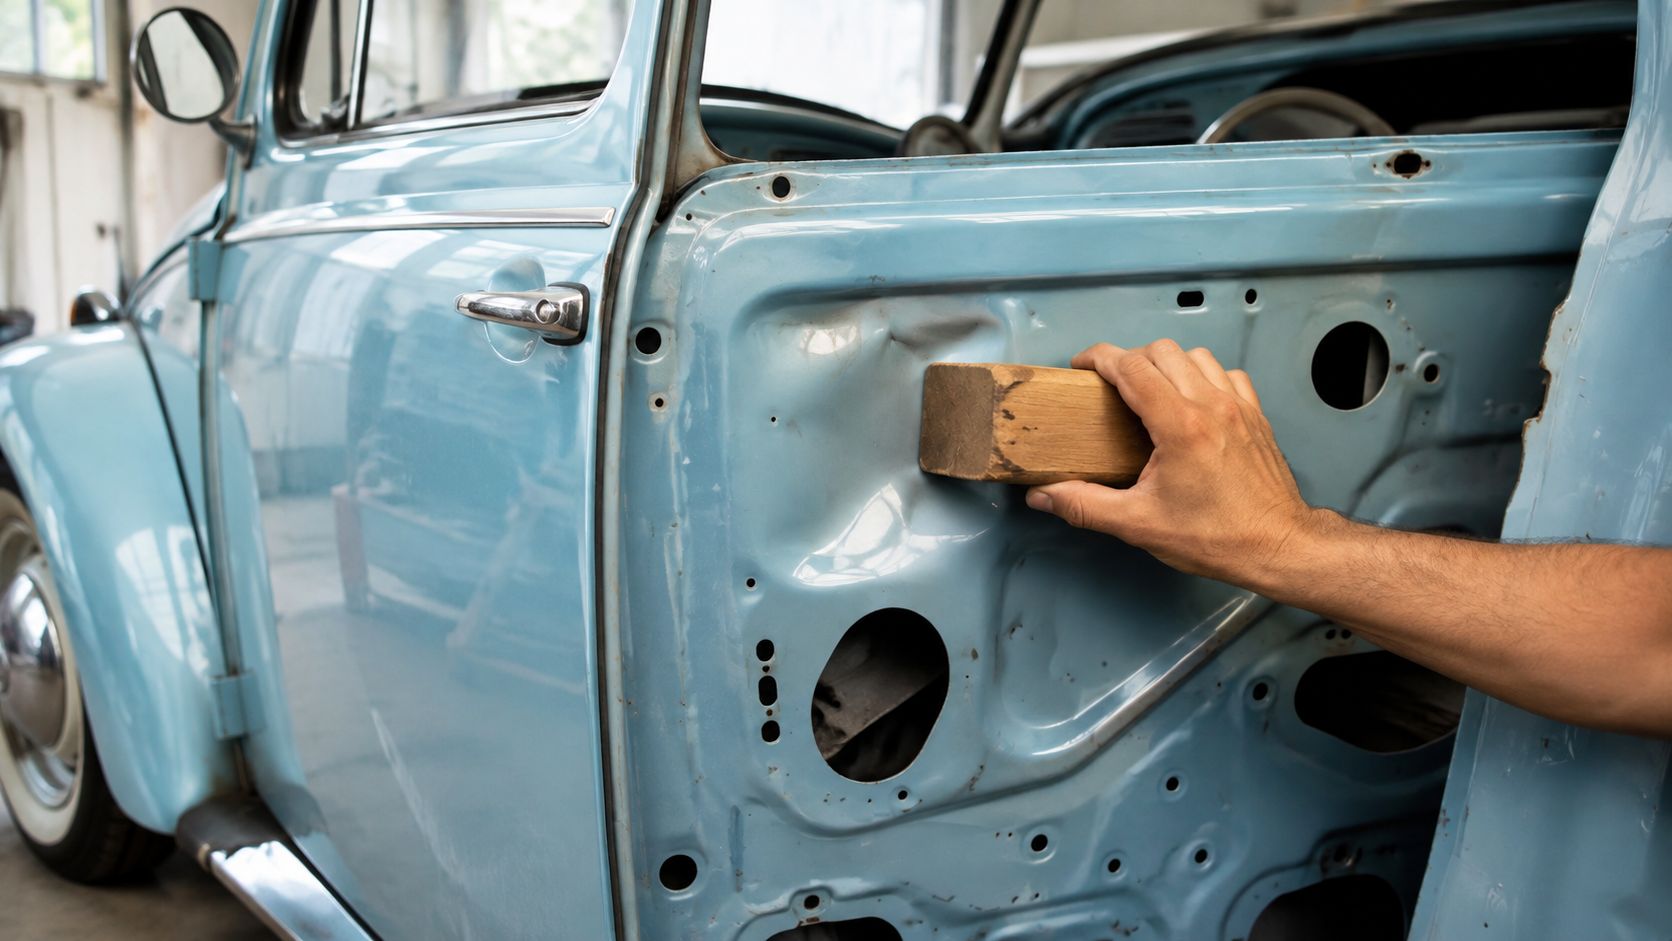
On older Volkswagens, the trim and replacement parts matter too. If you're dealing with a door edge, a stubborn low spot, or a panel that's already been repaired before, it helps to know what fits and what can be sourced before you start forcing metal around. A good place to check is Beetle parts for panel and trim work, especially if the dent repair may turn into a parts swap instead of a clean pull.
When to hand it to a specialist
Call a pro if the dent sits near parking sensors, radar units, or cameras, if the crease is sharp, if the paint has cracked or lifted, or if the damage runs across multiple panels. Those jobs usually fight back harder than they save, and vintage VW metal can punish guesswork.
A good heritage panel beater or PDR tech can usually tell you quickly whether the panel can be massaged, needs filler, or needs proper metal finishing. If you're booking one for a classic VW, ask whether they've worked on vintage Volkswagen panels before, what warranty they offer on the finish, and how they handle original paint preservation.
Keep a photo record as well. Take shots of the dent before you touch it, then again after the repair, and store them with the car's history. That matters on a Kombi or Beetle, where provenance and careful upkeep are part of the appeal.
If you're restoring a VW or keeping a cherished daily driver tidy, match the method to the panel in front of you, not the one that looks easiest on a video. Old VW skin is thin, access is often poor, and original paint gives you less room to make mistakes, so the sensible move is the one that leaves the panel straight without chasing damage into the rest of the car.