
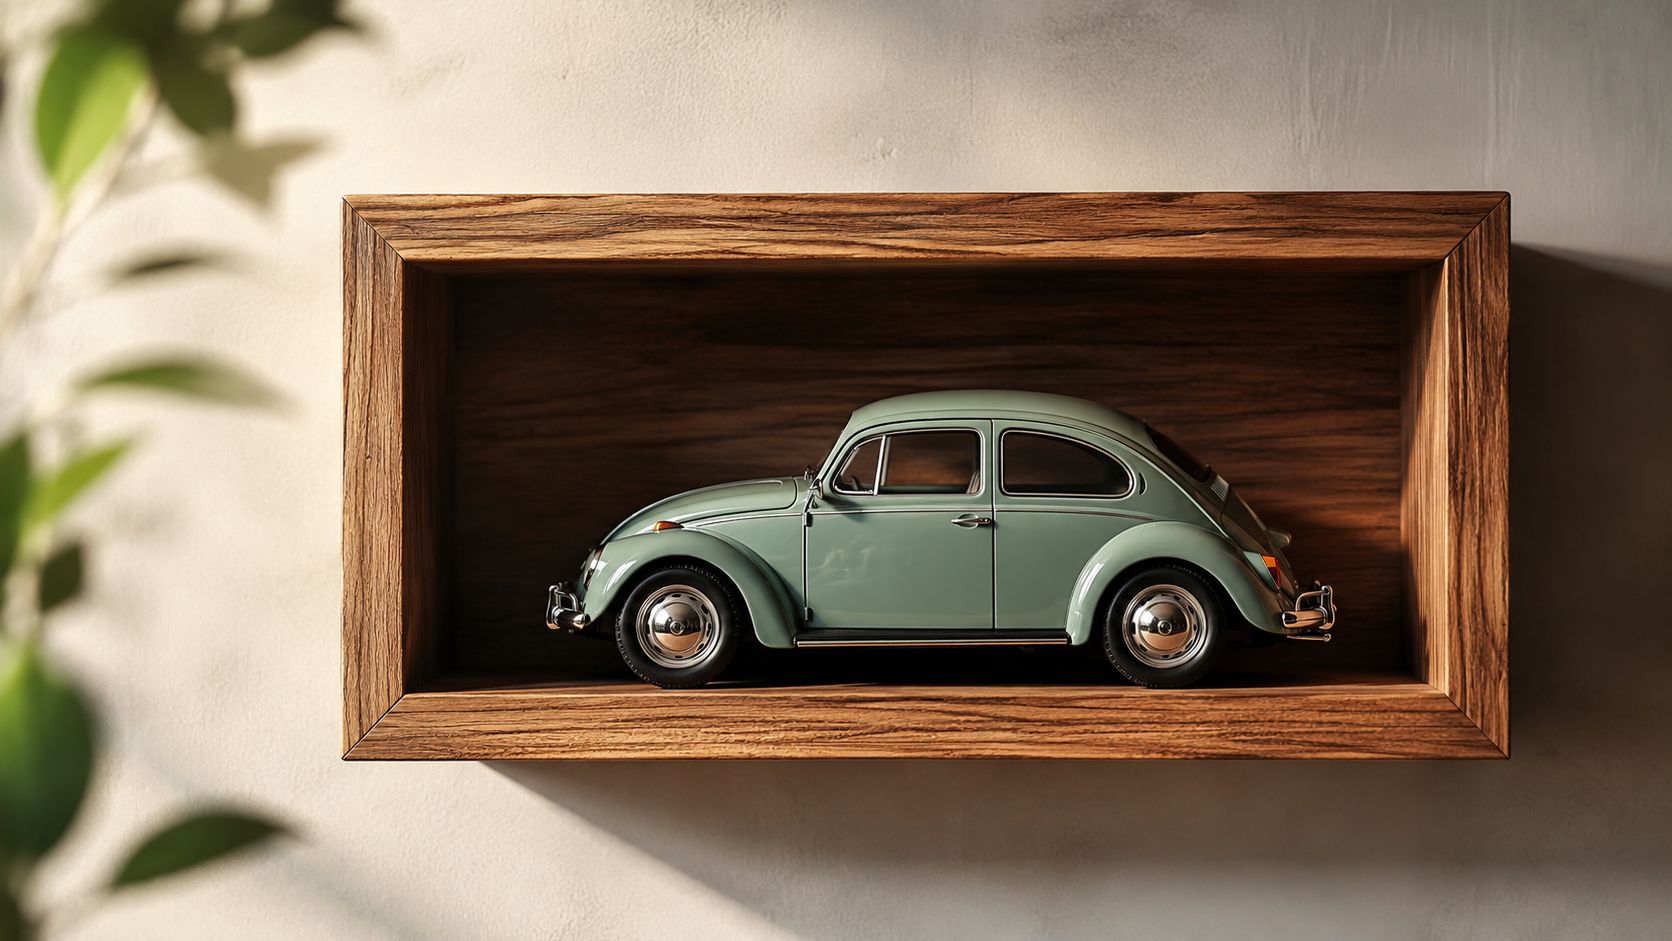
You've got a Beetle on one shelf, a Kombi on the TV unit, and a Samba Bus still sitting in its box because you haven't found the right home for it yet. That's the usual sign the collection's grown past casual storage and needs a proper display with a bit of theatre. Shadow box shelves solve that problem neatly, because they give your models depth, protection, and a framed stage that feels worthy of a sunny Aussie car show.
A shadow box is a display case or vitrine, a framed enclosure with a transparent front and enough depth to hold three-dimensional pieces, not just flat photos or paperwork Display case definition and use. That depth is the whole trick. A Volkswagen model, especially a chunky Kombi or a curvy Beetle, looks far better when it's presented as an object in space rather than lined up like stock on a regular shelf.
From the Mantelpiece to a Masterpiece Display
A lot of collectors start the same way. One model becomes three, then five, then a few “temporary” spots around the house turn into a scattered little museum of VW life. The trouble is that ordinary shelves don't frame the story, and a flat picture frame can't handle the physical presence of a diecast Kombi or Beetle.
A shadow box is built for that job. Independent product guidance describes shadow boxes as framed display cases made to showcase three-dimensional objects and memorabilia, which is why they work so well for a Volkswagen Beetle model or a VW Kombi diecast Australia favourite What a shadowbox frame is. The transparent front protects the model while still letting the colour, shape, and trim details breathe.
Why depth matters for VW models
The depth turns a model from a thing you own into a thing you've curated. A shallow shelf can hold a car, but a proper shadow box shelf gives the bonnet line, roof curve, mirrors, and surfy roof racks room to read cleanly from the room. That matters if you're displaying a Flower Power Kombi, a split-window Bus, or a classic Beetle in a way that tells a story.
Practical rule: if the model looks crowded from the side, the box is too shallow for the job.
For VW lovers, the payoff is visual as much as practical. You get a tidy display that feels closer to a gallery than a storage solution, and that suits the heritage of these cars. The Beetle and Kombi already carry nostalgia, so the display should lean into that rather than hide it.
Planning Your Perfect VW Showcase
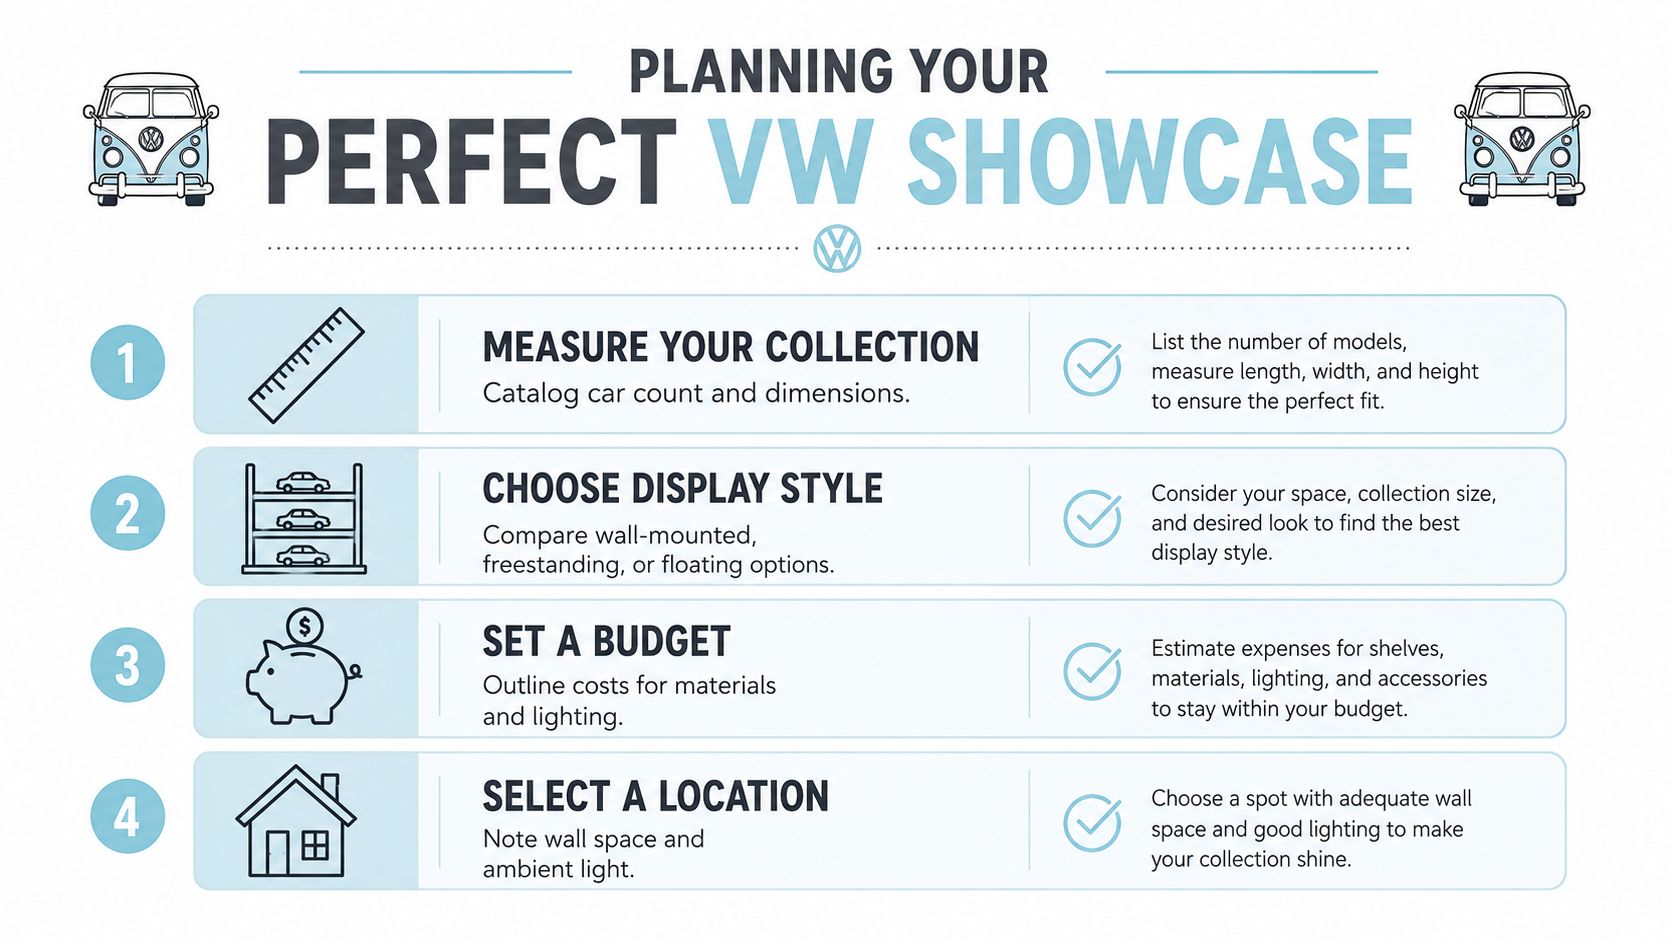
Before you buy timber or click through to a ready-made unit, measure the actual models you want to show off. A bigger 1:18 scale Samba Bus needs more breathing room than a tighter 1:24 scale Beetle, and the display should suit the tallest object, not the average one. That one step saves a lot of frustration later, especially when roof racks, mirrors, or surf accessories push past the line you thought you had.
Measure first, then choose the wall
Start with the collection, not the wall. Lay out the models you want together and note the widest, tallest, and deepest pieces. If you're planning a mixed display, include anything with extra thickness, such as accessories, stands, or boxed extras you want to keep nearby.
The next question is location. A wall near natural light can look brilliant, but bright sun can be harsh on finishes and plastics, especially in coastal homes. The available guidance for Australian conditions points to the same common-sense idea, treat the display as a micro-climate decision, because moisture, UV, and placement affect how long the materials stay looking sharp Material choice for Australian conditions.
Material choices that suit Australian homes
For most collectors, the trade-off is between looks, weight, and durability. MDF can be neat and paintable, plywood can be sturdy, solid timber brings warmth, and acrylic fronts can feel lighter than glass. The right answer depends on where the display sits and whether you're building for a dry lounge room, a humid coastal space, or a brighter area that sees plenty of sun.
A sensible approach is to think like a restorer. The finish should suit the room, not just the car. If the display is going near a beachy interior, sealed timber and careful coating choices often make more sense than an unfinished craft look.
A good display starts with a place, then a size, then a finish. Reverse that order and you usually end up compromising on all three.
For model selection and display inspiration, it helps to browse a focused range of Volkswagen model cars and compare how different scales sit together: Volkswagen model cars.
Choosing Your Shadow Box Style
The biggest decision is simple. Do you buy a ready-made shadow box or build one yourself? Both paths can produce a great VW display, but they suit different people. A bought unit is quicker and usually cleaner out of the gate, while a DIY build gives you more control over depth, finish, and character.
Buying ready-made
A good pre-made unit should feel solid, square, and purposeful. Look for a strong frame, a clear front, and enough internal depth that your model doesn't press against the glazing. The source material also points to framed cases being selected first by width, height, and depth, then by back style, then by whether shelves are added later if the case is drilled for them Shadow-box supplier workflow.
That order matters. If you need multiple cars in one display, the back style becomes part of the plan, not an afterthought. A solid back suits single hero pieces, while a pegboard-style back helps when you want to wire objects in place or move them around.
Building your own
DIY makes sense if you want the box to echo the mood of the collection. A retro paint finish, a weathered timber look, or a clean painted frame can all work beautifully with VW memorabilia. The trade-off is time and accuracy. You need clean cuts, square joints, and a clear sense of what the box is meant to hold.
A custom build also lets you match the display to the actual model rather than the other way around. That's especially handy if your collection includes a taller Kombi, a low Beetle, or a mix of both. If you're building for a surf-style room, a slightly rustic finish often feels right, because it echoes the relaxed colour palette of coastal VW culture.
Building Your Own VW Shadow Box Shelf
A simple DIY build starts with a cut list, a square frame, and patience with the finish. The most useful guide from practical woodworking is to size the case first, then decide on the back, then add shelves only if the frame is drilled for them Shadow-box supplier workflow. That keeps the structure honest and avoids trying to force components into a frame that was never meant to hold them.
Tools and materials that actually help
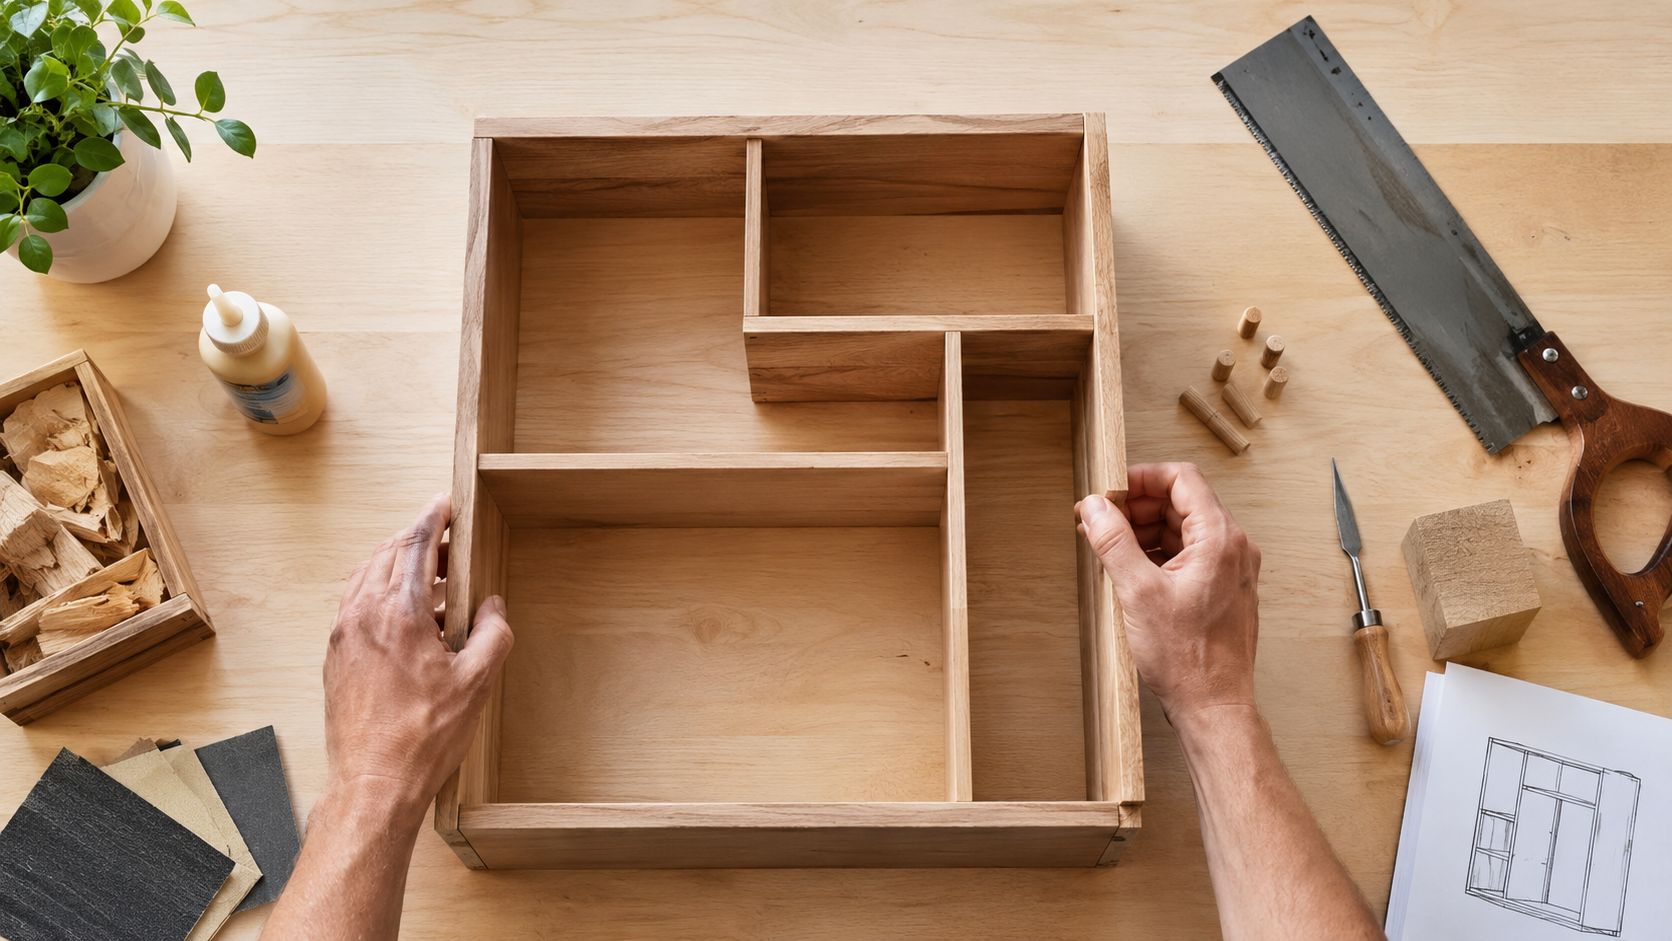
You don't need a full workshop to do this well, but accuracy matters. A measuring tape, saw, wood glue, painter's tape, finish nails, a square, and a level will get most hobbyists a long way. The build method documented by experienced woodworkers stresses exact cuts, taped joints, and finish nails while the glue cures, plus proper wall anchoring once the shelf is ready How to make shadow box shelves.
The build sequence that keeps the frame clean
A proven workflow is to cut the frame parts to length, dry fit everything, and make sure the corners close flush before glue ever touches the timber. One build example used 45-degree corners and cut the frame sides 1/2 inch wider than the shelves to make room for a back panel, with shelf slots placed four inches from each end Example build dimensions. Those details matter because they control whether the internal parts fit neatly and whether the display finishes square.
The practical part is not fancy, it's disciplined. Tape the joints so they don't creep, glue them carefully, and add nails only as support while the adhesive sets. A common mistake is overdriving fasteners or mis-cutting the pieces, which stops the corners closing properly How to make shadow box shelves.
Useful workshop rule: if the dry fit isn't clean, the glued version won't magically improve.
For collectors who want a display that feels more like a proper cabinet than a craft project, that clean assembly is what separates a tidy VW wall from a wobbly one. If you want a display base for a car and a few accessories, explore display cases for models.
Installation and Lighting Done Right
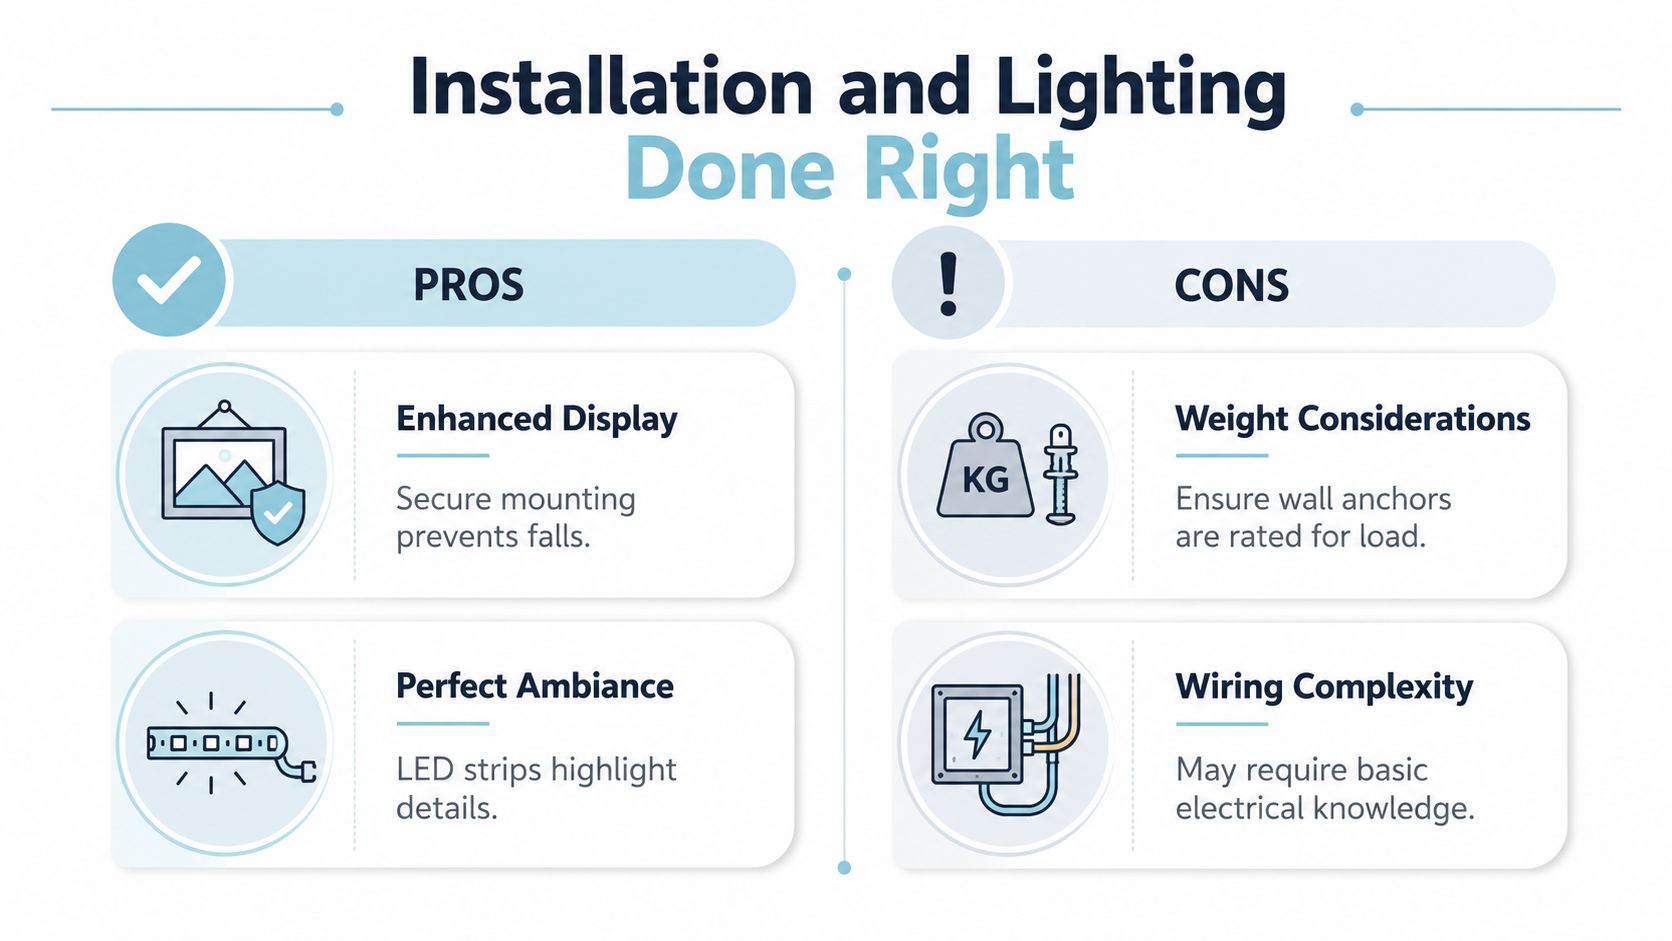
Mounting is where a nice-looking shelf becomes a serious display. Most DIY content spends plenty of time on the build and not enough on how to hang the finished unit safely, yet that's the part that protects the models and the wall. A loaded shadow box shelf should be treated like furniture, not just decoration, especially once metal diecast pieces and mixed memorabilia are inside.
Safety first on the wall
Find the studs where you can, use the right anchors where you can't, and level the shelf before you tighten anything fully. The practical advice in the source material makes the point clearly, wall anchoring and wall-type-matched hardware are essential, and the fitter should use a level rather than trusting the eye How to make shadow box shelves. That's especially true in typical Australian plasterboard walls, where the substrate matters as much as the shelf itself.
A crooked display distracts from the models, and a weak fixing can turn a prized Kombi into floor scrap. The better habit is to test the weight path before the collection goes in. If the shelf feels marginal empty, it won't improve once the cars are loaded.
Lighting that suits the models
Lighting should flatter details, not blast them. LED strips give a clean gallery feel, while small puck lights can highlight a single hero vehicle or a focused corner of the display. The point is to bring out paint, chrome, and glass without creating reflections that make the front look busy.
Secure mounting first, lighting second. If the shelf isn't solid, no amount of glow makes it better.
For a wall display that sits near living areas, discreet lighting usually works best. It keeps the silhouette clean and lets the vehicles remain the star, which is exactly what you want with a well-kept Beetle or a bright Kombi Samba Bus. If the room already has strong ambient light, use the LEDs sparingly so the display still feels relaxed rather than overdone.
Styling Your Display Like a True Enthusiast
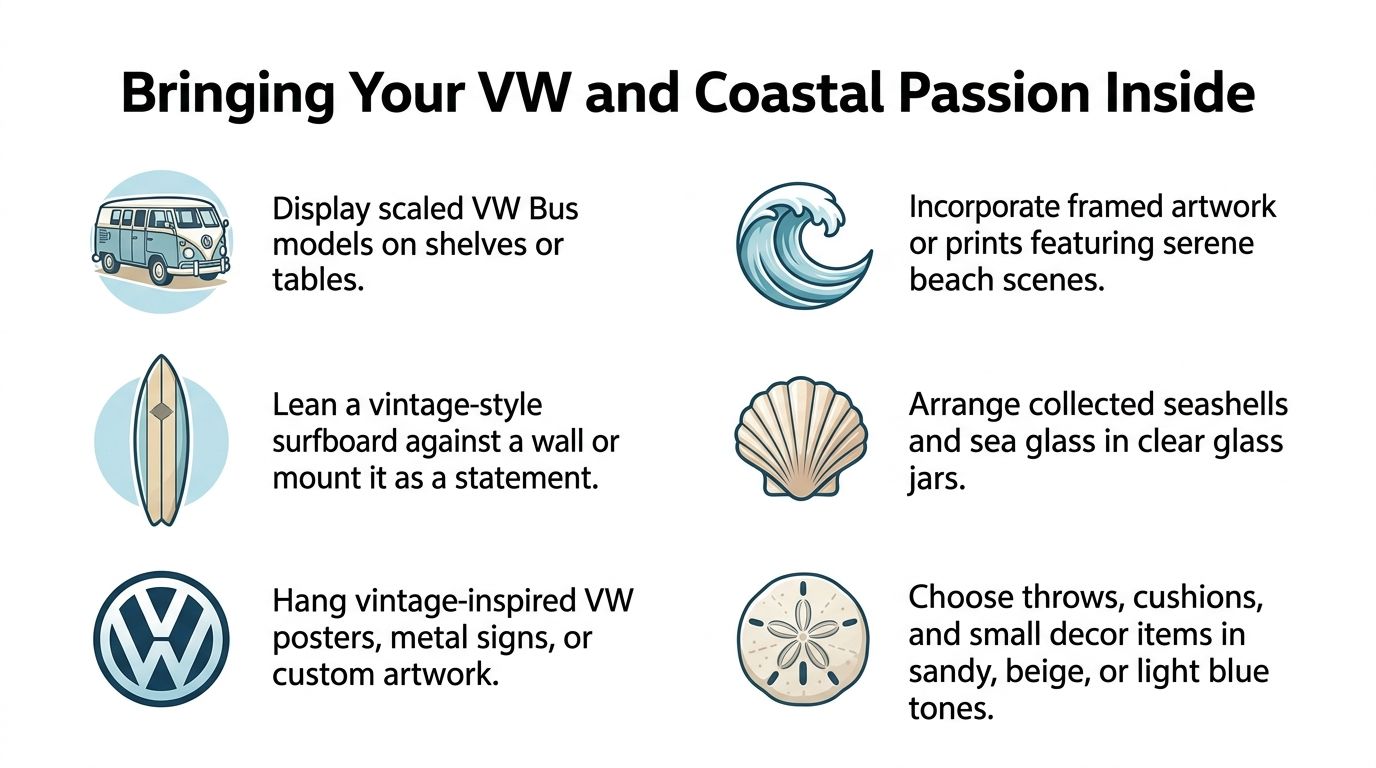
Once the shelf is up and lit, the fun part starts. A shadow box display looks best when it tells a small story, not when it holds objects. That might mean a Flower Power Kombi with a tiny surfboard beside it, or a Beetle line-up that tracks different eras of VW design in a tidy visual rhythm.
Build a scene, not just a row
A beach-day setup works beautifully for Australian VW culture. Put the Kombi at the centre, angle a smaller model beside it, and leave a little breathing space so the eye can move across the frame. Add a shell, a miniature sign, or another understated piece from your memorabilia stash, but keep the scene restrained so the cars stay dominant.
You can also theme by memory. One shelf might hold the model that reminds you of your first Volksfest run. Another might feel more like a Kombi-and-coastline tribute, with softer colours and a relaxed layout that suits a room with surf style. For more wall-friendly pieces that echo that look, browse wall accents for the living room.
Keep the rotation fresh
Seasonal styling works well with VW displays because the models themselves carry so much personality. A Christmas touch can be as simple as a small red accent or a festive background card, then back to a clean summer look once the holidays pass. That keeps the shelf feeling alive without turning it into clutter.
The strongest displays usually have one thing in common. They reflect the owner's taste, not a generic showroom. If your collection leans toward licensed diecast Kombis, Beetles, and surfy VW pieces, let the colour palette and props nod to that heritage rather than fighting it.
Volkswagen Memorabilia has a strong range of VW-themed gifts, diecast models, and coastal décor that fits this kind of display beautifully. If you're ready to build a proper home for your VW memorabilia collectibles, visit Volkswagen Memorabilia and start turning your favourite models into a display worth showing off at the next car meet.